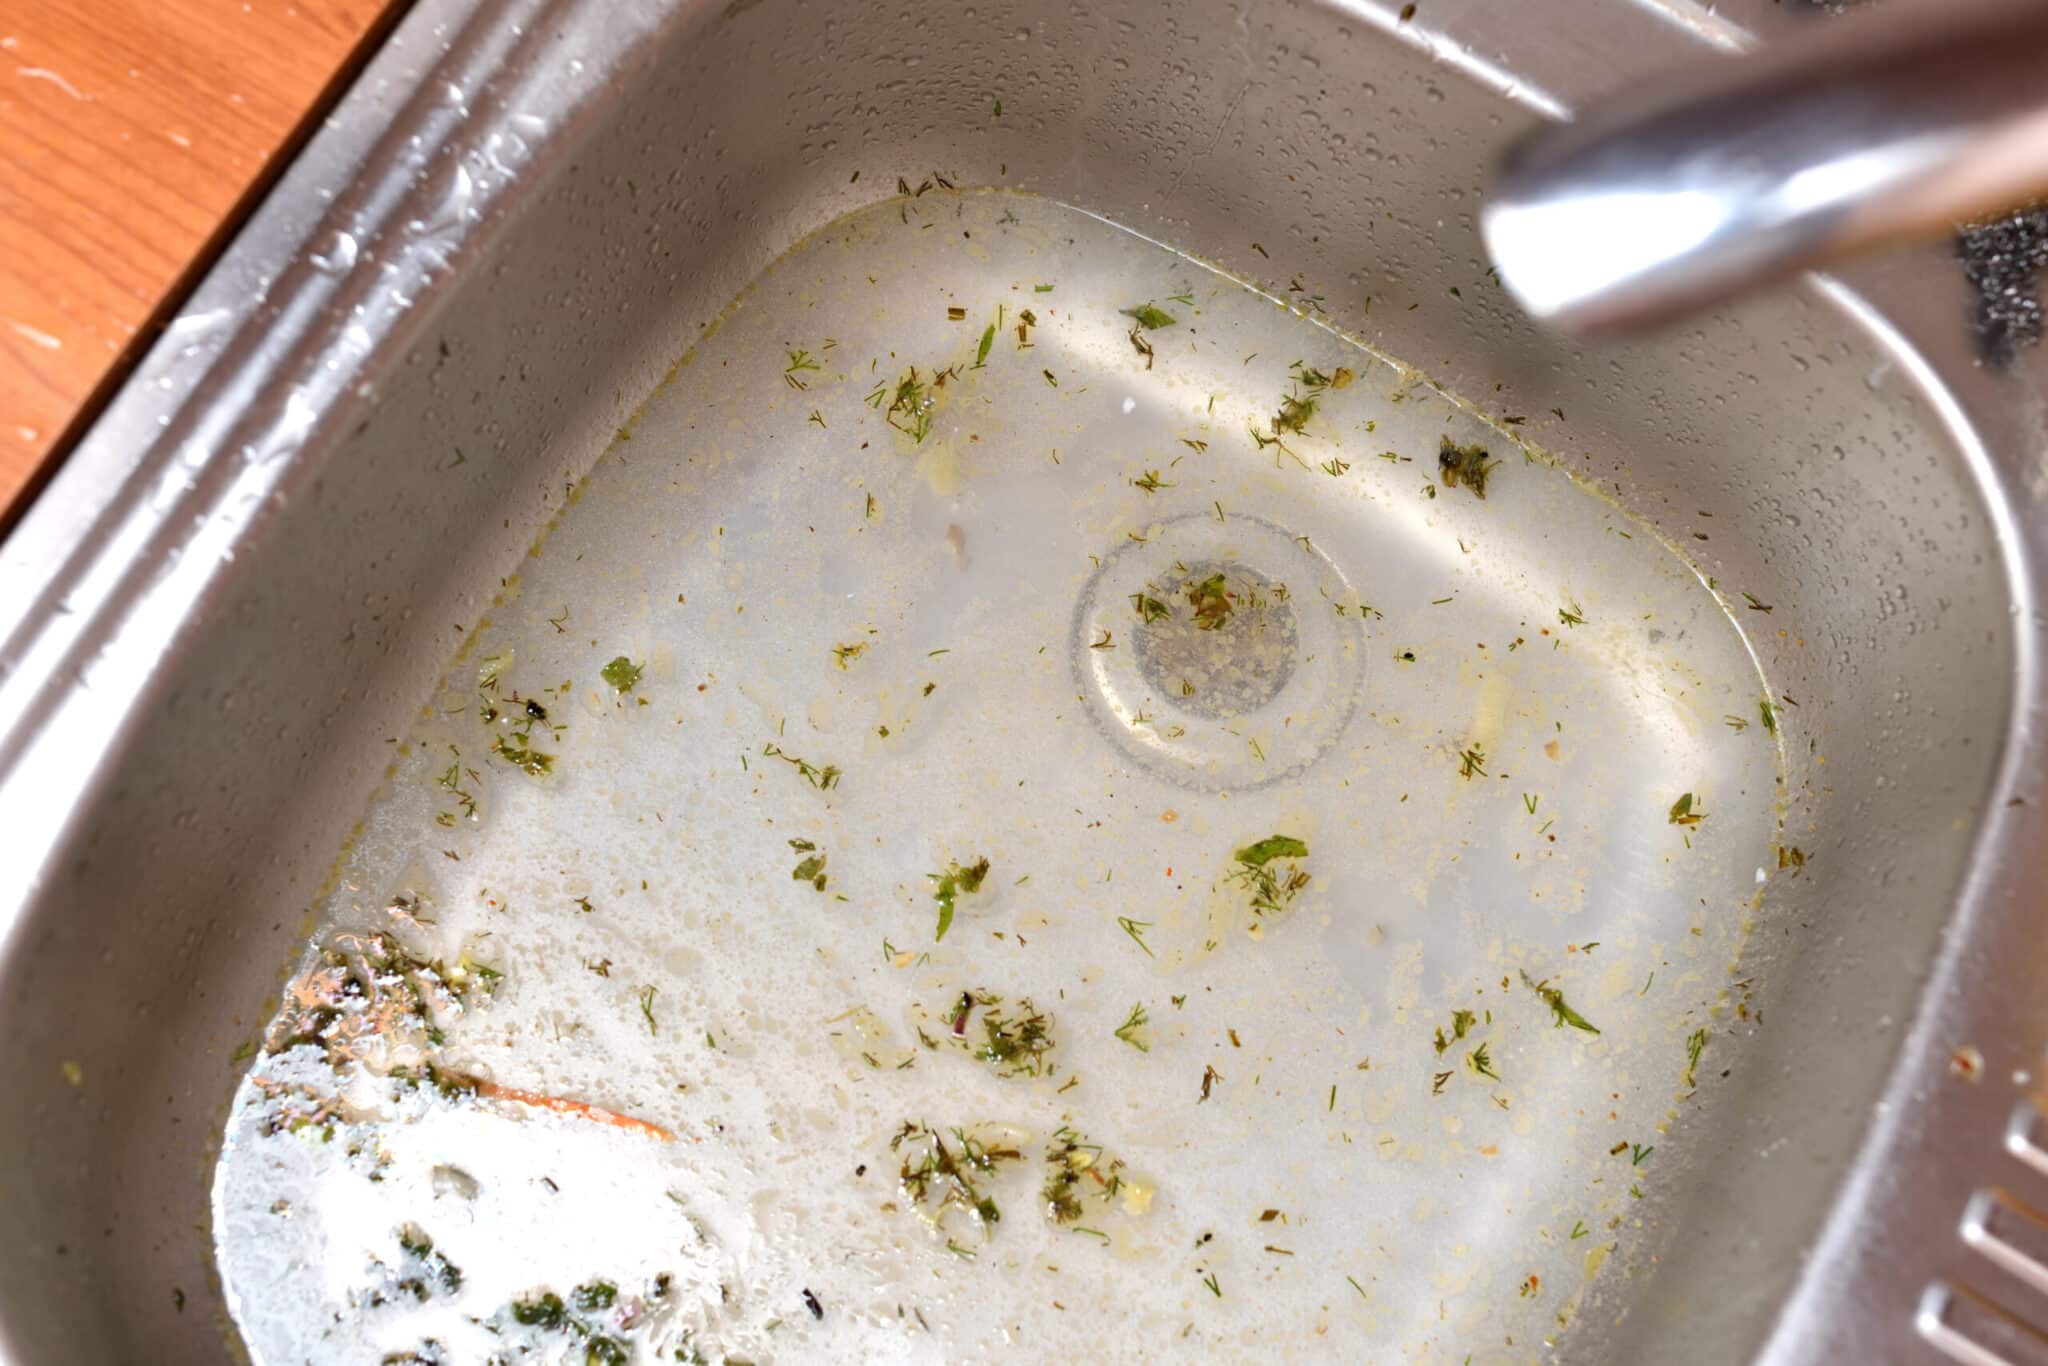
Dealing with a clogged kitchen sink can be frustrating, and often the culprit is debris caught in the drain stopper․ Understanding how to remove a drain stopper from kitchen sink is a valuable skill that can save you time and money on plumbing calls․ While there are different types of stoppers, most are relatively easy to remove with a few simple tools and techniques․ This guide will walk you through the common methods, providing you with the knowledge to tackle this task confidently․ Let’s dive into the process, ensuring you can restore proper drainage to your kitchen sink quickly and efficiently․
Identifying Your Drain Stopper Type
Before you start wrenching things apart, it’s crucial to identify the type of drain stopper you have․ Common types include:
- Lift-and-Turn Stoppers: These stoppers typically have a knob or a small lever on top that you lift and turn to open or close the drain․
- Push-Button Stoppers: These stoppers have a button that you push to open and close the drain․
- Pop-Up Stoppers: These are often controlled by a lever located near the faucet․
- Basket Strainer Stoppers: These have a basket that catches debris, and a stopper that sits inside the basket․
Knowing the type you have will dictate the removal method․
Removing a Lift-and-Turn Stopper
Lift-and-turn stoppers are generally quite straightforward to remove․ Here’s how:
- Locate the Set Screw: Look for a small set screw on the side of the stopper, near the top․
- Loosen the Set Screw: Use a small Allen wrench or screwdriver to loosen the set screw․ Be careful not to strip the screw․
- Unscrew the Stopper: Once the set screw is loose, you should be able to unscrew the stopper from the drain․ You may need to gently wiggle it while turning․
Removing a Push-Button Stopper
Removing a push-button stopper can be a bit more involved․
- Hold the Stopper: Grip the stopper firmly․
- Unscrew the Stopper Top: Many push-button stoppers have a top portion that unscrews from the base․ Try turning it counterclockwise․
- Remove the Base: Once the top is removed, you can usually lift out the base of the stopper․ Sometimes, there might be a clip or a nut underneath that needs to be loosened first․
Removing a Pop-Up Stopper
Pop-up stoppers are connected to a linkage rod beneath the sink․ Here’s how to tackle this type:
- Locate the Pivot Rod: Go under the sink and find the pivot rod connected to the drainpipe․
- Detach the Pivot Rod: Loosen the nut that secures the pivot rod to the drainpipe․ Then, carefully pull the pivot rod out․
- Remove the Stopper: Once the pivot rod is removed, you should be able to lift the stopper out of the drain․
Removing a Basket Strainer Stopper
These are usually the easiest to remove․
- Remove the Basket: Simply lift the basket strainer out of the drain․
- Remove the Stopper: If there’s a separate stopper, it will usually lift out easily after the basket is removed․
Troubleshooting and Prevention
If you’re having trouble removing a drain stopper, avoid using excessive force, as you could damage the drain or the stopper itself․ Try using a lubricant like WD-40 to help loosen stuck parts․ After successfully removing the stopper, clean it thoroughly to remove any debris․ Consider using a drain strainer to prevent future clogs․ Learning how to remove a drain stopper from kitchen sink and regularly cleaning the drain will help maintain a functional and hygienic kitchen sink․
Now that you know how to tackle this task, you can keep your kitchen sink flowing freely․