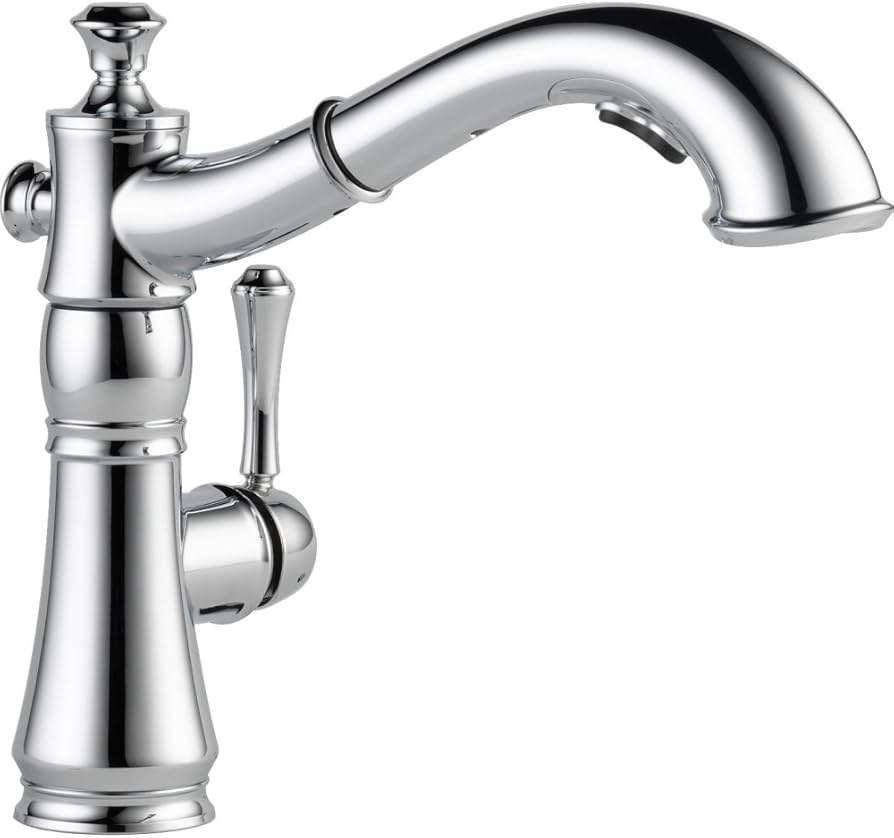
Installing a sprayer on a kitchen sink can significantly improve its functionality, making dishwashing and cleaning easier and more efficient․ It’s a relatively straightforward DIY project that can be completed in a short amount of time with basic tools and minimal plumbing experience․ A kitchen sink with a sprayer provides greater flexibility in directing water flow, allowing you to rinse dishes thoroughly and reach corners that are difficult to access with just the faucet․ This guide will walk you through the process of adding a sprayer to your existing setup, ensuring a smooth and successful installation of a sprayer․
Preparing for the Installation
Before you begin, it’s crucial to gather the necessary tools and materials․ This will save you time and prevent frustration during the installation process․
Tools and Materials You’ll Need:
- Adjustable wrench
- Basin wrench (optional, but helpful for tight spaces)
- Screwdriver (Phillips and flathead)
- Plumber’s putty or silicone sealant
- Plumber’s tape (Teflon tape)
- New kitchen sink sprayer kit (ensure it’s compatible with your sink)
- Bucket and towels (to catch water spills)
- Work light (if the area under the sink is poorly lit)
Preliminary Steps:
- Turn off the water supply: Locate the shut-off valves under your sink for both hot and cold water and turn them off completely․
- Disconnect the existing water supply lines: Place a bucket under the faucet connections and carefully disconnect the supply lines using an adjustable wrench․ Have towels ready to catch any residual water․
- Remove the existing faucet (if necessary): If your sink doesn’t have a dedicated hole for the sprayer, you may need to replace your entire faucet assembly with one that includes a sprayer connection․ Follow the manufacturer’s instructions for removing your old faucet․
- Clean the sink surface: Wipe down the area around the faucet hole(s) to ensure a clean surface for the new sprayer or faucet installation․
Installing the Sprayer
Now, let’s move on to the actual installation of the sprayer․ Follow these steps carefully to ensure a proper and leak-free connection․
- Install the Sprayer Hose: Thread the sprayer hose through the designated hole in your sink․ If you are using a faucet with an integrated sprayer, the hose will already be pre-installed on the faucet body․
- Connect the Sprayer Hose to the Faucet: Connect the sprayer hose to the faucet shank or the diverter valve underneath the sink, following the manufacturer’s instructions for your specific model․ Use plumber’s tape on the threads to ensure a watertight seal․
- Install the Sprayer Head: Attach the sprayer head to the end of the sprayer hose․ Most sprayer heads simply screw onto the hose․
- Secure the Sprayer Holder: Attach the sprayer holder to the sink, either through a dedicated hole or by clamping it onto the faucet․
- Connect the Water Supply Lines: Reconnect the hot and cold water supply lines to the faucet․ Make sure the connections are tight but not overtightened․
Testing and Final Adjustments
After completing the installation, it’s essential to test for leaks and make any necessary adjustments․
- Turn on the water supply: Slowly turn the hot and cold water supply valves back on․
- Check for leaks: Inspect all connections, including the sprayer hose, faucet connections, and supply lines, for any signs of leaks․ If you find a leak, tighten the connection or apply more plumber’s tape․
- Test the sprayer: Activate the sprayer and check for proper water flow and spray pattern․ Adjust the sprayer head if necessary․
- Clean up: Wipe down the sink area and remove any tools or materials․
Congratulations! You’ve successfully installed a sprayer on your kitchen sink․ With your newly installed sprayer, you can enjoy the increased convenience and efficiency it provides for years to come․
Remember to periodically inspect the sprayer hose and connections for any signs of wear or damage․ A proactive approach to maintenance can prevent leaks and ensure the longevity of your new fixture․ Consider replacing the sprayer hose every few years, especially if you notice any cracks or stiffness in the material․
TROUBLESHOOTING COMMON ISSUES
Even with careful installation, you might encounter a few common issues․ Here’s how to address them:
LOW WATER PRESSURE
– Check the water supply lines: Ensure the shut-off valves are fully open and that the supply lines aren’t kinked or blocked․
– Clean the sprayer head: Mineral deposits can accumulate in the sprayer head, restricting water flow․ Soak the sprayer head in vinegar or a descaling solution to dissolve these deposits․ You might also be able to disassemble the sprayer head and manually clean it․
– Inspect the diverter valve: If you have a diverter valve under the sink, make sure it’s functioning correctly․ A faulty diverter valve can restrict water flow to the sprayer․
LEAKS
– Tighten connections: The most common cause of leaks is loose connections․ Use an adjustable wrench to tighten the connections, but be careful not to overtighten, as this can damage the fittings․
– Replace plumber’s tape: If tightening the connections doesn’t stop the leak, try removing the connection, cleaning the threads, and applying fresh plumber’s tape before reassembling․
– Check for cracks: Inspect the sprayer hose and connections for any cracks or damage․ Replace any damaged parts․
SPRAYER NOT RETRACTING
– Check the weight: Most sprayers have a weight attached to the hose that helps it retract smoothly․ Make sure the weight is properly positioned and not obstructed by anything under the sink․
– Lubricate the hose: A dry or sticky hose can prevent smooth retraction․ Apply a silicone-based lubricant to the hose to improve its movement․
TIPS FOR LONG-TERM USE
To keep your kitchen sink sprayer working optimally, consider these tips:
– Use the sprayer regularly: Regular use helps prevent mineral buildup and keeps the sprayer mechanism functioning smoothly․
– Avoid harsh chemicals: When cleaning the sink, avoid spraying harsh chemicals directly onto the sprayer head, as this can damage the finish․
– Flush the sprayer after use: After using the sprayer, run it for a few seconds to flush out any food particles or debris․
By following these tips and addressing any issues promptly, you can ensure that your kitchen sink sprayer provides years of reliable service․ Remember, if you’re unsure about any aspect of the installation or troubleshooting process, it’s always best to consult with a qualified plumber․


