Creating the perfect interior for a 3 bedroom house in India is a delightful challenge, demanding a harmonious blend of functionality, aesthetics, and cultural sensitivity. It’s about crafting a space that resonates with the family’s lifestyle, reflects their personality, and provides a comfortable haven from the bustling world outside. A thoughtfully designed home should not only be visually appealing but also cater to the practical needs of everyday living, especially within the context of Indian climates and traditions. The key to successful 3 bedroom house interior design India lies in understanding the unique nuances of the space and leveraging them to create a cohesive and inviting environment. This article explores innovative approaches to 3 bedroom house interior design India, offering inspiration and practical tips to transform your home into a personal sanctuary.
Maximizing Space and Functionality
Indian homes often serve multiple purposes, from family gatherings to religious ceremonies. Therefore, maximizing space and ensuring functionality are paramount considerations. Here are some strategies:
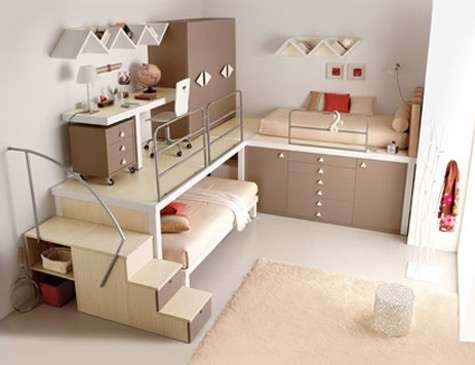
- Multifunctional Furniture: Opt for furniture that serves more than one purpose, such as sofa-cum-beds, storage ottomans, and dining tables that can be extended.
- Vertical Storage: Utilize wall space effectively with shelves, cabinets, and lofts to keep clutter at bay.
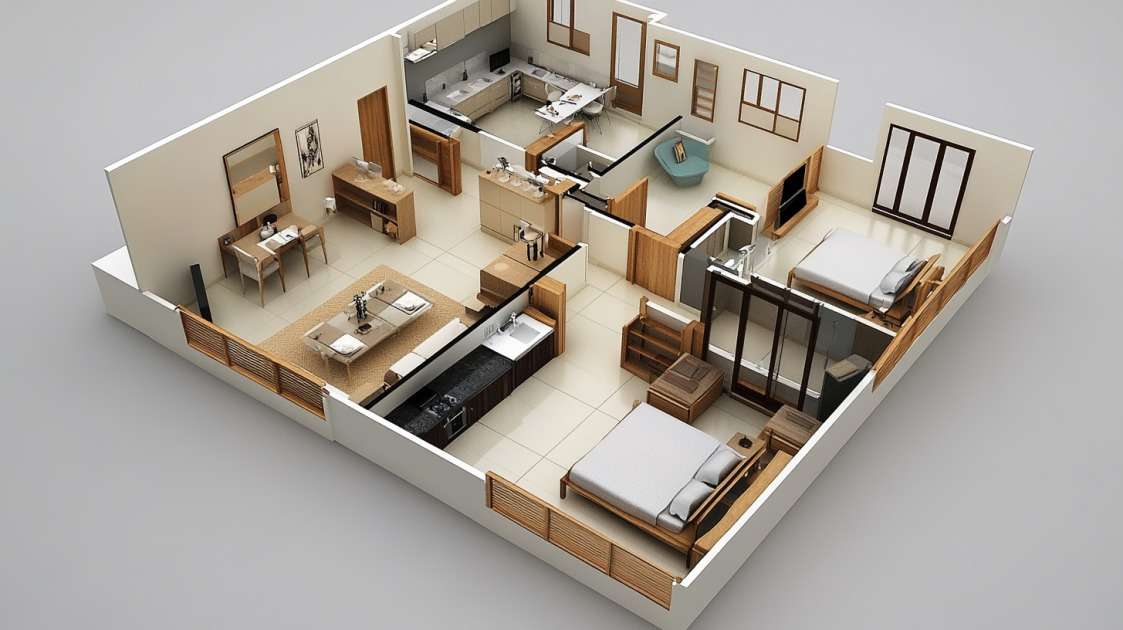
- Open Floor Plans: Consider an open floor plan for the living and dining areas to create a sense of spaciousness and facilitate interaction.
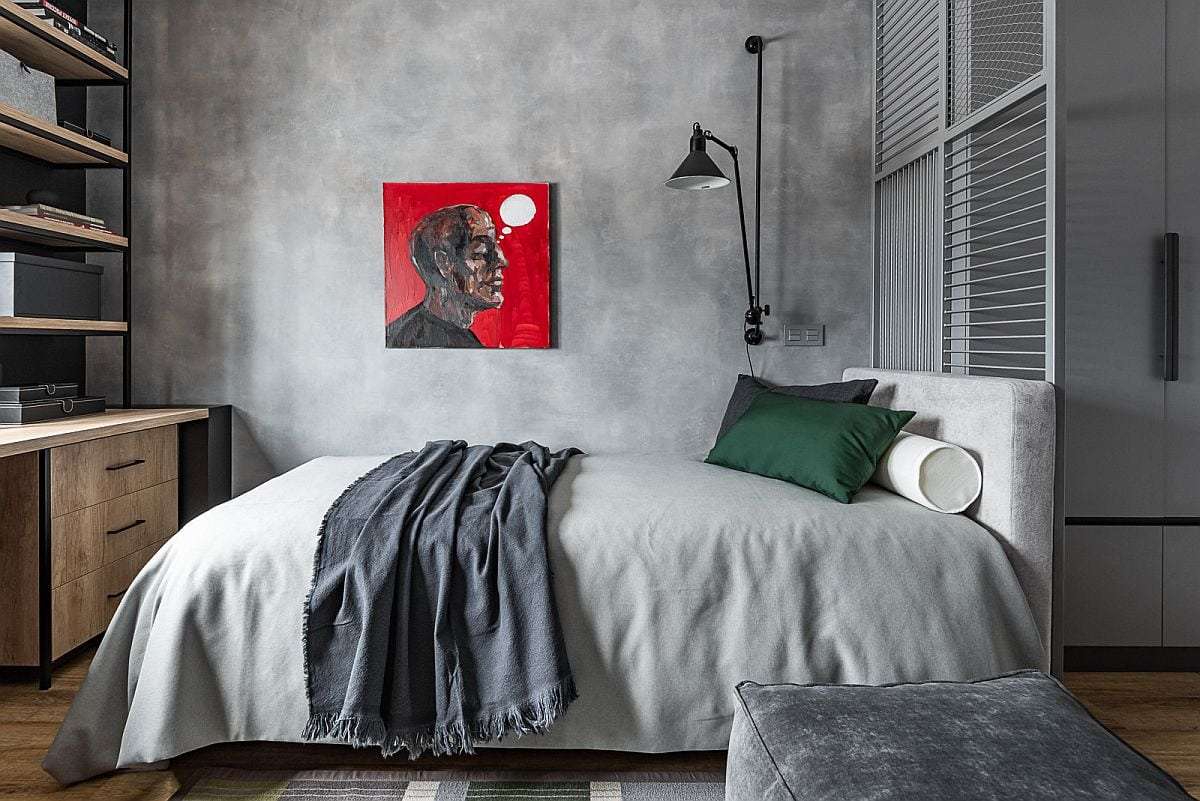
- Strategic Lighting: Use a combination of ambient, task, and accent lighting to create a warm and inviting atmosphere while highlighting specific areas.
Incorporating Indian Aesthetics
Infuse your home with the rich cultural heritage of India by incorporating traditional elements in a modern way:
- Textiles: Use vibrant textiles like silk, cotton, and khadi in upholstery, curtains, and rugs to add color and texture.
- Art and Decor: Display traditional Indian art, sculptures, and handicrafts to showcase your cultural identity.
- Color Palette: Draw inspiration from Indian colors like saffron, indigo, emerald green, and terracotta, but use them judiciously to create a balanced and harmonious palette.
- Natural Materials: Embrace natural materials like wood, bamboo, and stone to create a sense of warmth and connection to nature.
Balancing Tradition and Modernity
The beauty of modern Indian interior design lies in its ability to seamlessly blend tradition and modernity. This can be achieved by:
- Modernizing Traditional Motifs: Incorporate traditional motifs like paisley, floral patterns, and geometric designs in a contemporary way.
- Using Traditional Materials in Modern Designs: Employ traditional materials like wood and stone in sleek, minimalist designs.
- Creating a Focal Point: Introduce a statement piece that embodies the fusion of tradition and modernity, such as a hand-carved wooden screen in a contemporary living room.
Example: Color Palette Comparison
| Palette | Description | Pros | Cons |
|---|---|---|---|
| Warm & Earthy | Uses shades of terracotta, beige, brown, and gold. | Creates a cozy and inviting atmosphere, reflects Indian heritage. | Can feel heavy if not balanced with lighter colors. |
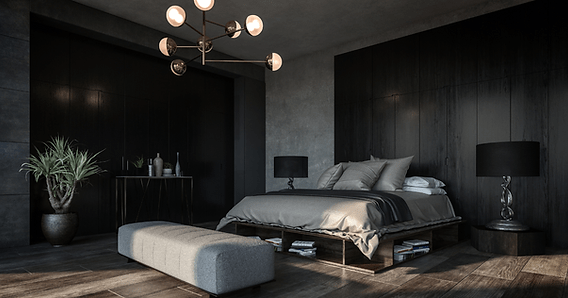
| Cool & Contemporary | Employs shades of white, gray, blue, and green. | Creates a clean and modern aesthetic, feels spacious and airy. | May feel impersonal if not infused with personal touches. |
Focus on Comfort and Functionality
Ultimately, the goal of 3 bedroom house interior design India should be to create a comfortable and functional living space that caters to the needs of the family. Consider the flow of the space, the placement of furniture, and the overall ambiance to ensure that your home is not only visually appealing but also a joy to live in. Choosing materials that are durable, easy to maintain, and suited to the Indian climate is vital. Don’t be afraid to experiment and personalize your space to reflect your unique style and preferences.