A stainless steel bottom grid for your kitchen sink isn’t just an accessory; it’s an investment in the longevity and hygiene of your workspace. This often-overlooked addition can significantly improve your daily kitchen routine, preventing scratches, dents, and the accumulation of food particles that can lead to unpleasant odors and bacterial growth. Choosing the right stainless steel bottom grid can make cleaning easier and extend the life of your sink. Understanding the benefits and features available will allow you to select the perfect grid for your needs.
The Unexpected Benefits of a Sink Grid
Beyond simply protecting the bottom of your sink, a stainless steel bottom grid offers a range of advantages that contribute to a more efficient and enjoyable kitchen experience:
- Scratch Prevention: Protects the sink surface from scratches caused by pots, pans, and utensils.
- Improved Drainage: Elevates dishes, allowing for better water flow and preventing food from sitting in the sink.
- Reduced Noise: Dampens the clanging of dishes, creating a quieter kitchen environment.
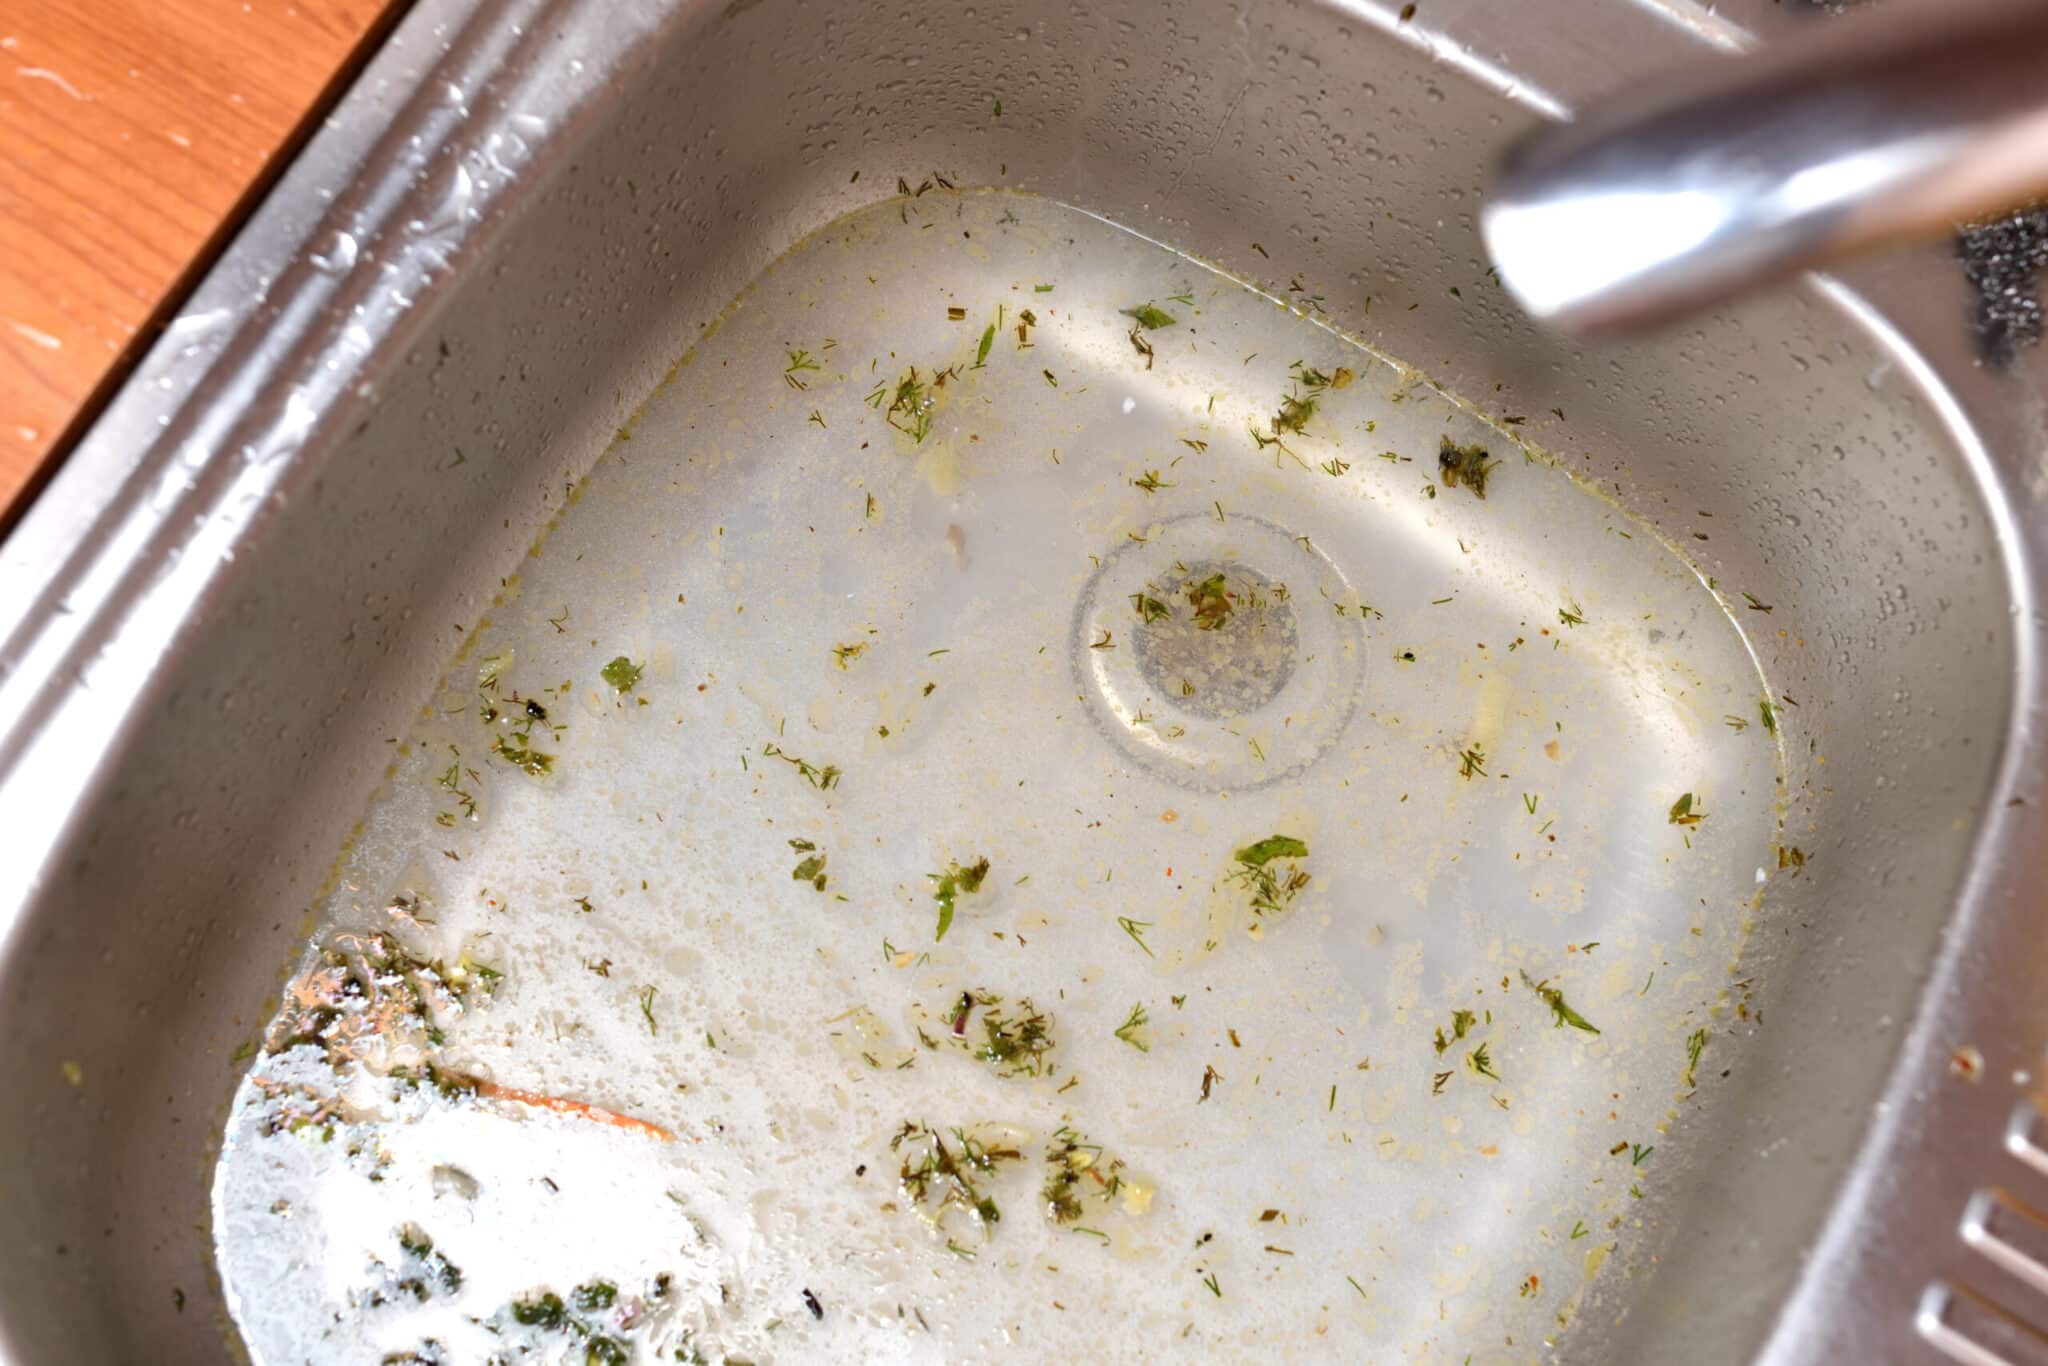
- Enhanced Hygiene: Prevents food particles from sticking to the sink bottom, making cleaning easier and reducing bacterial growth.
Choosing the Right Stainless Steel Bottom Grid
Not all sink grids are created equal. Consider these factors when making your selection:
Material Quality
Ensure the grid is made from high-quality stainless steel (ideally 304 grade or higher) for durability and rust resistance. Lower grades may corrode over time, especially with exposure to harsh cleaning chemicals.
Size and Fit
Accurate measurements are crucial. Measure the inside dimensions of your sink before purchasing a grid. A poorly fitting grid will be ineffective and may even damage your sink.
Design Features
Look for features like rubber bumpers to prevent scratching and non-slip feet to keep the grid securely in place. Some grids also have a cutout for the drain, ensuring easy access and preventing blockage.
Comparing Different Sink Grid Materials
While stainless steel is a popular choice, other materials are sometimes used. Here’s a quick comparison:
| Material | Pros | Cons |
|---|---|---|
| Stainless Steel | Durable, rust-resistant, easy to clean, hygienic | Can be more expensive than other options |
| Plastic-Coated Metal | More affordable, available in various colors | Plastic coating can chip or peel, less durable |
| Silicone | Heat-resistant, non-slip, gentle on dishes | May stain more easily than stainless steel |
Ultimately, the best material depends on your budget and priorities. However, for long-term durability and hygiene, stainless steel remains a top choice.
Investing in a quality stainless steel bottom grid is a simple yet effective way to protect your sink, improve hygiene, and enhance your overall kitchen experience. It’s a small investment that pays off in the long run, keeping your sink looking its best for years to come.
MAINTAINING YOUR STAINLESS STEEL BOTTOM GRID
Once you’ve chosen the perfect stainless steel bottom grid, proper maintenance is key to ensuring its longevity and optimal performance; Regular cleaning and care will prevent the buildup of grime and mineral deposits, keeping your grid looking its best and functioning effectively.
ESSENTIAL CLEANING TIPS
Follow these simple tips to keep your stainless steel bottom grid sparkling:
– Daily Rinse: After each use, rinse the grid thoroughly with hot water to remove any food particles or debris.
– Weekly Cleaning: Wash the grid weekly with mild dish soap and a non-abrasive sponge or brush. Avoid harsh scouring pads, which can scratch the surface.
– Descaling: Mineral deposits from hard water can build up over time. To remove them, soak the grid in a solution of equal parts white vinegar and water for about 30 minutes. Rinse thoroughly afterwards.
– Disinfection: For extra hygiene, occasionally disinfect the grid with a diluted bleach solution (1 tablespoon of bleach per gallon of water). Rinse thoroughly and allow to air dry.
TROUBLESHOOTING COMMON ISSUES
Even with regular maintenance, you may encounter some common issues. Here’s how to address them:
RUST SPOTS
While stainless steel is rust-resistant, rust spots can sometimes appear, especially in areas with high mineral content in the water. Use a stainless steel cleaner or a mixture of baking soda and water to gently scrub away the rust. Rinse thoroughly and dry.
PERSISTENT STAINS
Stubborn stains can often be removed with a paste made from baking soda and water. Apply the paste to the stain, let it sit for a few minutes, and then scrub gently with a soft cloth or sponge. Rinse thoroughly.
FOOD ODORS
If your grid is retaining food odors, try soaking it in a solution of baking soda and water overnight. This will help to neutralize the odors. You can also try using a commercial odor eliminator designed for stainless steel.
EXTENDING THE LIFE OF YOUR GRID
Here are some additional tips to help prolong the life of your stainless steel bottom grid:
– Avoid Harsh Chemicals: Strong acids or alkalis can damage the stainless steel. Avoid using harsh cleaning agents like drain cleaners or oven cleaners on your grid.
– Dry Thoroughly: After cleaning, dry the grid thoroughly with a soft cloth to prevent water spots and mineral deposits.
– Inspect Regularly: Periodically inspect the grid for any signs of damage, such as cracks or broken welds. Repair or replace the grid as needed.
By following these maintenance tips, you can keep your stainless steel bottom grid looking its best and functioning optimally for years to come. A little care and attention will ensure that your investment continues to protect your sink and enhance your kitchen experience.