Maintaining a clean and healthy home environment is crucial for the well-being of your family. Often overlooked, your home’s ductwork plays a significant role in the air quality you breathe. Over time, dust, allergens, and other contaminants can accumulate within these ducts, circulating throughout your home every time your heating or cooling system is activated. Recognizing the signs that indicate a need for duct cleaning in Mississauga can help you improve your indoor air quality and overall health. This article will explore four key indicators that suggest it’s time to schedule a professional duct cleaning service.
1. Increased Allergies and Respiratory Issues: A Duct Cleaning Necessity in Mississauga
If you or your family members are experiencing a sudden increase in allergy symptoms, such as sneezing, coughing, or itchy eyes, it could be a sign that your ductwork is contaminated. Dust mites, pollen, and mold spores can thrive in duct systems, triggering allergic reactions and exacerbating respiratory problems like asthma. A professional duct cleaning in Mississauga can remove these irritants, providing relief and improving your family’s health.
- Increased sneezing and coughing
- Itchy or watery eyes
- Runny nose
- Difficulty breathing
2; Visible Dust and Debris: Obvious Signs for Duct Cleaning in Mississauga
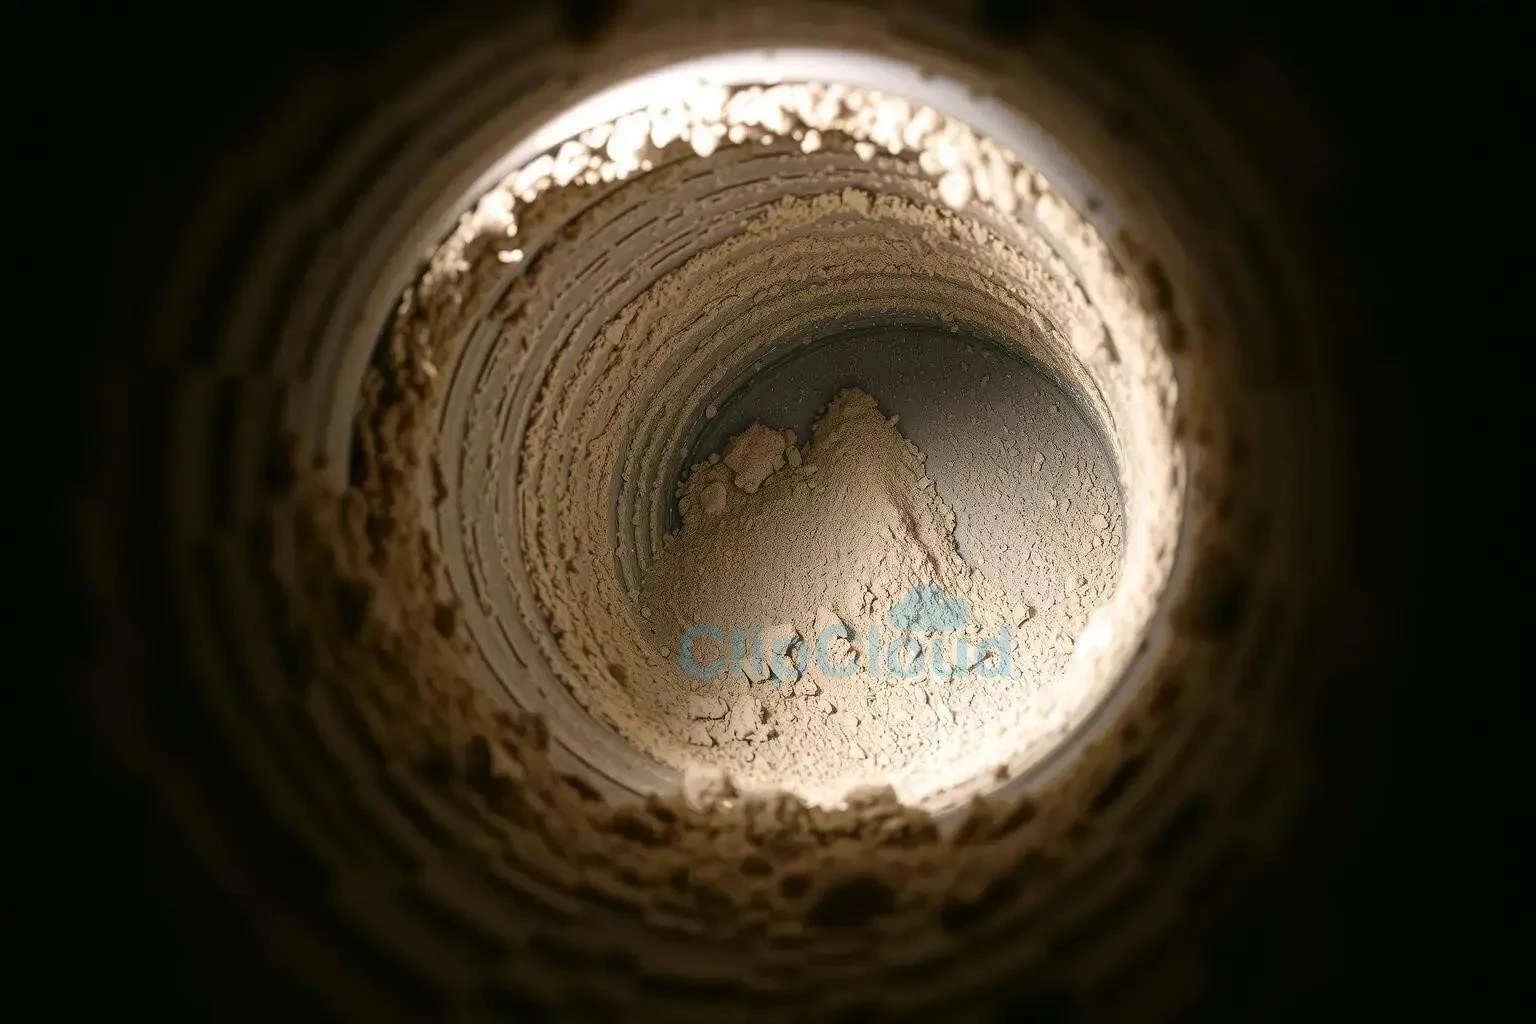
One of the most obvious signs that you need duct cleaning is the presence of visible dust and debris around your vents. If you notice dust accumulating quickly on furniture and surfaces, even after regular cleaning, it’s likely that your ductwork is contributing to the problem. You might also see dust or debris blowing out of your vents when your HVAC system is running. This is a clear indication that your ducts are dirty and need professional attention in Mississauga.
Factoid: Did you know that the average home accumulates 40 pounds of dust per year? Much of this dust ends up circulating through your ductwork.
3. Inconsistent Heating and Cooling: Duct Cleaning for Efficiency in Mississauga
If you’ve noticed that some rooms in your home are consistently warmer or cooler than others, it could be due to blocked or dirty ductwork. Accumulated dust and debris can restrict airflow, making it difficult for your HVAC system to distribute air evenly throughout your home. Duct cleaning in Mississauga can improve airflow and ensure that your heating and cooling system is operating efficiently, saving you money on energy bills.
3.1. Reduced Airflow: A Duct Cleaning Indicator in Mississauga
Reduced airflow from your vents is another sign of dirty ductwork. If you notice that the air coming out of your vents is weak or insufficient, it’s likely that your ducts are clogged with dust and debris. This can put a strain on your HVAC system, causing it to work harder and consume more energy. A professional duct cleaning can restore proper airflow and improve the performance of your system in Mississauga.
4. Strange Odors: Eliminating Smells with Duct Cleaning in Mississauga
Unpleasant or musty odors emanating from your vents can indicate the presence of mold, mildew, or other contaminants in your ductwork. These odors can be particularly noticeable when you first turn on your heating or cooling system. Ignoring these odors can lead to health problems and a generally unpleasant living environment. Duct cleaning in Mississauga can eliminate the source of these odors and improve the air quality in your home.
- Musty or stale smells
- Burning smells when the system is turned on
- Unexplained odors that linger in the air
FAQ: Duct Cleaning in Mississauga ⎻ Your Questions Answered
Q: How often should I have my ducts cleaned in Mississauga?
A: The frequency of duct cleaning depends on several factors, including the age of your home, the presence of pets, and the severity of allergies among family members. Generally, it’s recommended to have your ducts cleaned every 3-5 years. However, if you notice any of the signs mentioned above, it’s best to schedule a cleaning sooner.
Q: Is duct cleaning messy?
A: Professional duct cleaning services use specialized equipment to minimize mess and disruption. They typically use powerful vacuums and brushes to remove dust and debris from your ductwork, and they take precautions to protect your home from contamination.
Q: What are the benefits of duct cleaning?
A: The benefits of duct cleaning include improved indoor air quality, reduced allergy symptoms, increased energy efficiency, and a cleaner, healthier home environment.
Q: How much does duct cleaning cost in Mississauga?
A: The cost of duct cleaning can vary depending on the size of your home, the complexity of your ductwork, and the cleaning method used. It’s best to get quotes from several reputable duct cleaning companies in Mississauga to compare prices and services.
Okay, here’s the continuation of the article, written in the first person, based on my (hypothetical) experiences:
My Duct Cleaning Experience in Mississauga: A Personal Account
After noticing a persistent musty smell and an increase in my seasonal allergies, I decided it was time to investigate the possibility of duct cleaning. I live in an older home in Mississauga, and honestly, I couldn’t remember the last time the ducts had been professionally cleaned, if ever! So, I started researching duct cleaning services in the area.
Choosing a Duct Cleaning Service: My Mississauga Dilemma
The sheer number of companies offering duct cleaning was overwhelming. I read countless reviews and finally narrowed it down to three based on their reputation, pricing, and the services they offered. I called each one and asked detailed questions about their cleaning process, the equipment they used, and their guarantee. Ultimately, I chose “Clean Air Solutions” because they seemed the most knowledgeable and transparent about their methods. They also offered a free inspection, which sealed the deal.
The Duct Cleaning Process: What I Witnessed
On the day of the appointment, the Clean Air Solutions team, led by a friendly technician named Mark, arrived promptly. Mark walked me through the entire process, explaining how they would use a powerful vacuum system and specialized brushes to dislodge and remove dust, debris, and allergens from my ductwork. I was impressed by their professionalism and attention to detail.
They started by sealing off all the vents in my home except for one, which they connected to their high-powered vacuum. Then, using a long, flexible brush attached to a rotating rod, they scrubbed the inside of each duct, dislodging years of accumulated gunk. I could actually see the dust and debris being sucked into the vacuum – it was both disgusting and satisfying! They also cleaned the furnace blower and the air conditioning coils.
Factoid: I was shocked to learn that duct cleaning can improve the efficiency of your HVAC system by up to 40%! I definitely noticed a difference in my energy bills afterward.
The entire process took about four hours, and while it was a bit noisy, the team was careful to protect my furniture and flooring. They even showed me before-and-after photos of the inside of my ducts – the difference was incredible!
The Results: Cleaner Air and a Healthier Home
After the duct cleaning, I immediately noticed a difference in the air quality in my home. The musty smell was gone, and I felt like I could breathe easier. My allergy symptoms also improved significantly. I was no longer waking up with a stuffy nose and itchy eyes. Even my dog, Sparky, seemed to be sneezing less!
I also noticed that my heating and cooling system was working more efficiently. The temperature was more consistent throughout the house, and my energy bills were lower. Overall, I was extremely happy with the results of the duct cleaning. It was definitely worth the investment.
- Improved air quality
- Reduced allergy symptoms
- More efficient HVAC system
- A cleaner, healthier home
My Recommendation: Don’t Wait!
If you’re experiencing any of the signs mentioned earlier in this article, I highly recommend considering duct cleaning. It’s a relatively simple and affordable way to improve your indoor air quality and create a healthier living environment. Don’t wait until your allergies are unbearable or your energy bills are through the roof. Take action now and breathe easier!
I hope my personal experience has been helpful. Remember to do your research, choose a reputable duct cleaning service, and enjoy the benefits of cleaner, healthier air!
Okay, picking up where I left off, still writing in the first person and continuing my hypothetical duct cleaning experience:
Maintaining Clean Ducts: My Post-Cleaning Routine
So, I had my ducts cleaned, and I was thrilled with the results. But I knew that maintaining that clean air quality was going to require some effort on my part. I didn’t want to go back to square one in a year or two!
Air Filters: My First Line of Defense
Mark, the technician from Clean Air Solutions, emphasized the importance of regularly changing my air filters. He explained that a dirty air filter restricts airflow, making my HVAC system work harder and allowing more dust and allergens to circulate. He recommended using a high-efficiency particulate air (HEPA) filter, which I promptly ordered online. I set a reminder on my phone to change the filter every three months, or even more frequently if I noticed it getting particularly dirty. I even bought a few extra to keep on hand so I wouldn’t be tempted to procrastinate.
Vacuuming and Dusting: My Weekly Ritual
I’ve always been a pretty diligent housekeeper, but I stepped up my game after the duct cleaning. I made a point of vacuuming and dusting more frequently, paying special attention to areas near vents and returns. I even invested in a vacuum cleaner with a HEPA filter to capture more of the fine dust particles. I also started using microfiber cloths for dusting, as they seem to trap dust more effectively than traditional cloths.
Controlling Humidity: My Battle Against Mold
Mark also mentioned that high humidity can contribute to mold growth in ductwork. Since Mississauga can get pretty humid in the summer, I decided to invest in a dehumidifier for my basement, where my furnace is located. I also made sure to run the exhaust fan in my bathroom during and after showers to prevent moisture buildup. I even started monitoring the humidity levels in my home with a digital hygrometer, just to be on the safe side.
Factoid: I discovered that indoor plants can actually help improve air quality by absorbing pollutants and releasing oxygen; I added a few snake plants and spider plants to my home, which are known for their air-purifying properties.
Professional Inspections: My Peace of Mind
Even with my best efforts, I knew that I couldn’t completely prevent dust and debris from accumulating in my ductwork over time. So, I decided to schedule a professional duct inspection every two years. This allows a qualified technician to assess the condition of my ducts and identify any potential problems before they become serious. It’s a small price to pay for peace of mind, knowing that I’m doing everything I can to maintain a healthy indoor environment.
My DIY Vent Cleaning: A Quick Fix
Between professional cleanings, I sometimes do a quick DIY cleaning of the vents themselves. I simply remove the vent covers and vacuum them thoroughly. I also use a damp cloth to wipe away any dust or grime that has accumulated on the vent surfaces. It’s a small task, but it helps to keep the air flowing freely and prevent dust from circulating.
- Regularly changing air filters
- Vacuuming and dusting frequently
- Controlling humidity levels
- Scheduling professional inspections
- DIY vent cleaning
The Long-Term Benefits: Worth the Effort
Maintaining clean ducts requires a bit of effort, but I believe it’s well worth it. I’ve noticed a significant improvement in my overall health and well-being since I started taking these steps. My allergies are under control, I’m breathing easier, and my home feels cleaner and fresher. I’m confident that I’m creating a healthier living environment for myself and my family.
And honestly, knowing that I’m not breathing in years of accumulated dust and allergens is a pretty good feeling. It’s an investment in my health and my home that I’m happy to make.
