Finding the right kitchen and bathroom designers Mt. Lebanon offers can be a daunting task, especially when you envision transforming your living spaces into havens of comfort and style. The process requires careful consideration of expertise, design sensibility, and the ability to translate your vision into a tangible reality. Selecting the right professionals in Mt. Lebanon is crucial for a successful renovation, ensuring that your project stays on budget and meets your specific needs and desires. With a plethora of options available, understanding how to navigate the selection process is paramount to achieving the kitchen and bathroom of your dreams when searching for kitchen and bathroom designers Mt. Lebanon.
Understanding Your Needs and Vision
Before even beginning your search for designers, take the time to deeply consider your needs and desires. This self-reflection process will be instrumental in guiding your conversations and ensuring that you find a designer who truly understands your aspirations.
- Functionality: How do you currently use your kitchen and bathroom? What works well and what doesn’t? Consider your cooking habits, storage needs, and daily routines.
- Style: What aesthetic appeals to you? Gather inspiration from magazines, websites, and model homes. Define your preferred style, whether it’s modern, traditional, minimalist, or eclectic.
- Budget: Determine a realistic budget range. This will help you narrow down your options and ensure that you select a designer who can work within your financial constraints.
Finding and Evaluating Potential Designers
Once you have a clear understanding of your needs and vision, you can begin the search for potential designers.
Where to Look:
- Online Directories: Websites like Houzz, Angie’s List, and local business directories can provide a list of kitchen and bathroom designers in Mt. Lebanon.
- Referrals: Ask friends, family, and neighbors for recommendations. Personal referrals are often the most reliable source of information;
- Showrooms: Visit local kitchen and bathroom showrooms to see examples of their work and meet with designers.
Evaluating Potential Candidates:
- Portfolio Review: Examine their portfolio to assess their design style and the quality of their work. Look for projects that are similar to your vision.
- Client Testimonials: Read reviews and testimonials from previous clients to gauge their satisfaction level.
- Credentials and Experience: Verify their credentials and experience. Look for certifications, licenses, and memberships in professional organizations.
The Importance of Communication and Collaboration
Effective communication is paramount for a successful design project. The ideal designer will be a good listener, able to understand your needs and preferences, and a clear communicator, able to explain their ideas and recommendations effectively. Look for someone who is responsive, patient, and willing to collaborate with you throughout the entire process. This collaborative approach ensures that the final design reflects your unique vision and meets your specific requirements.
Making the Final Decision
After carefully evaluating several designers, it’s time to make your final decision. Trust your instincts and choose the designer who you feel most comfortable working with and who you believe will be the best fit for your project. Remember, selecting the right partner is an investment in the future value and enjoyment of your home. Finding the right kitchen and bathroom designers Mt. Lebanon provides is an important step towards realizing the dream you have for your home.
UNDERSTANDING THE DESIGN PROCESS
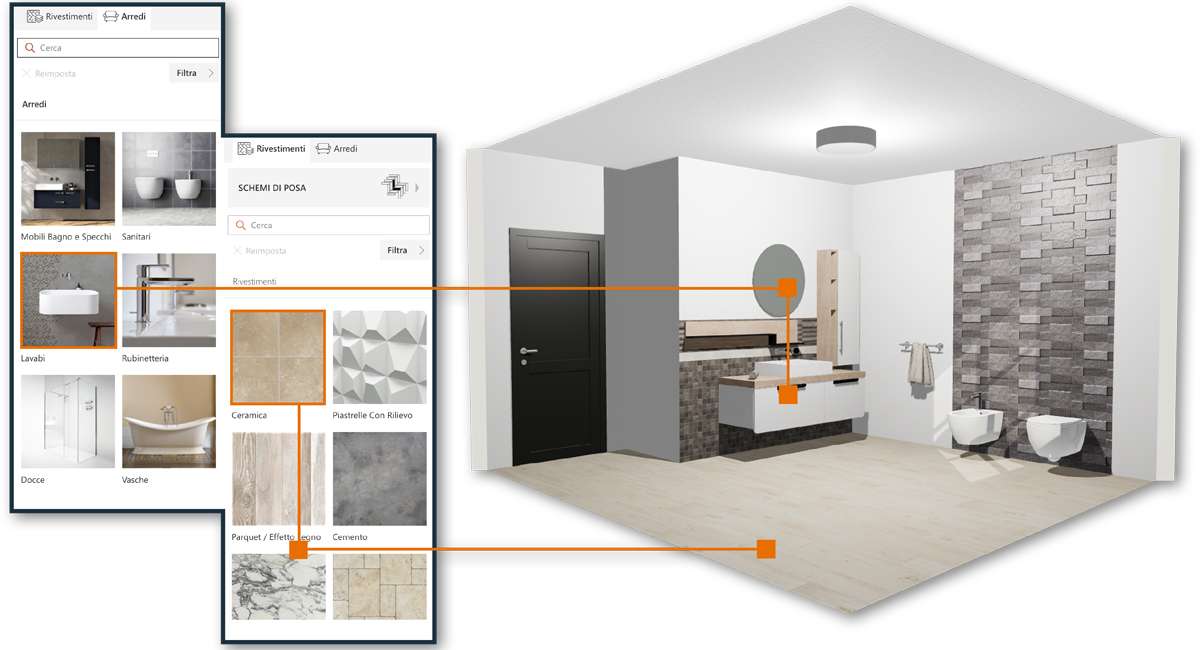
A comprehensive understanding of the design process itself is crucial for both the client and the designer. This process typically involves several distinct phases, each requiring meticulous attention to detail and collaborative effort. Initially, the designer will conduct a thorough consultation to ascertain the client’s specific requirements, budgetary constraints, and aesthetic preferences. This initial consultation serves as the foundation for the subsequent design development. Following this, the designer will create detailed plans, including floor plans, elevations, and 3D renderings, to visualize the proposed design. These plans are then presented to the client for review and approval. Upon approval of the design, the designer will proceed with the selection of materials, fixtures, and finishes. This phase requires careful consideration of durability, aesthetics, and cost-effectiveness. Finally, the designer will oversee the installation process, ensuring that the project is completed to the highest standards of quality and within the agreed-upon timeframe.
THE SIGNIFICANCE OF MATERIAL SELECTION
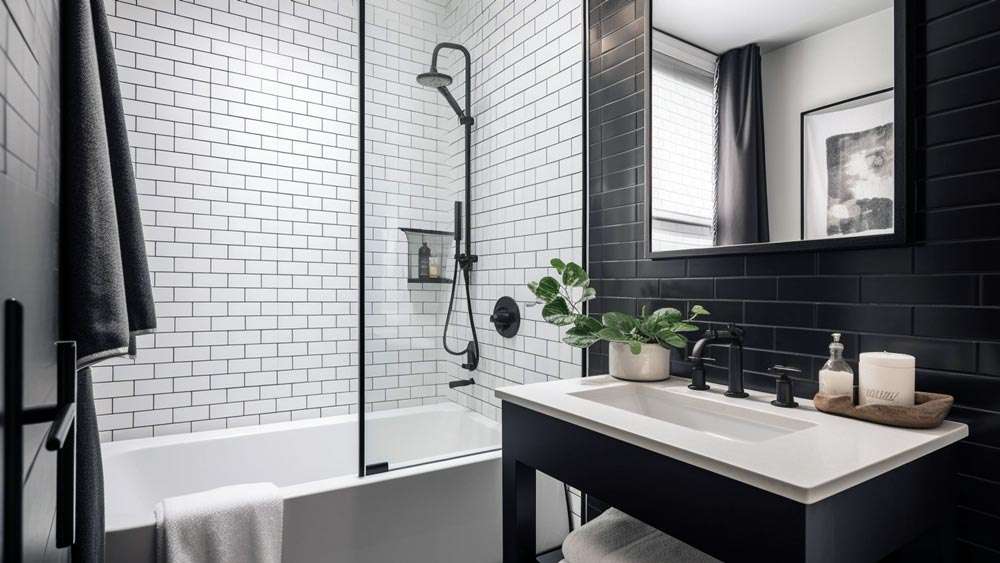
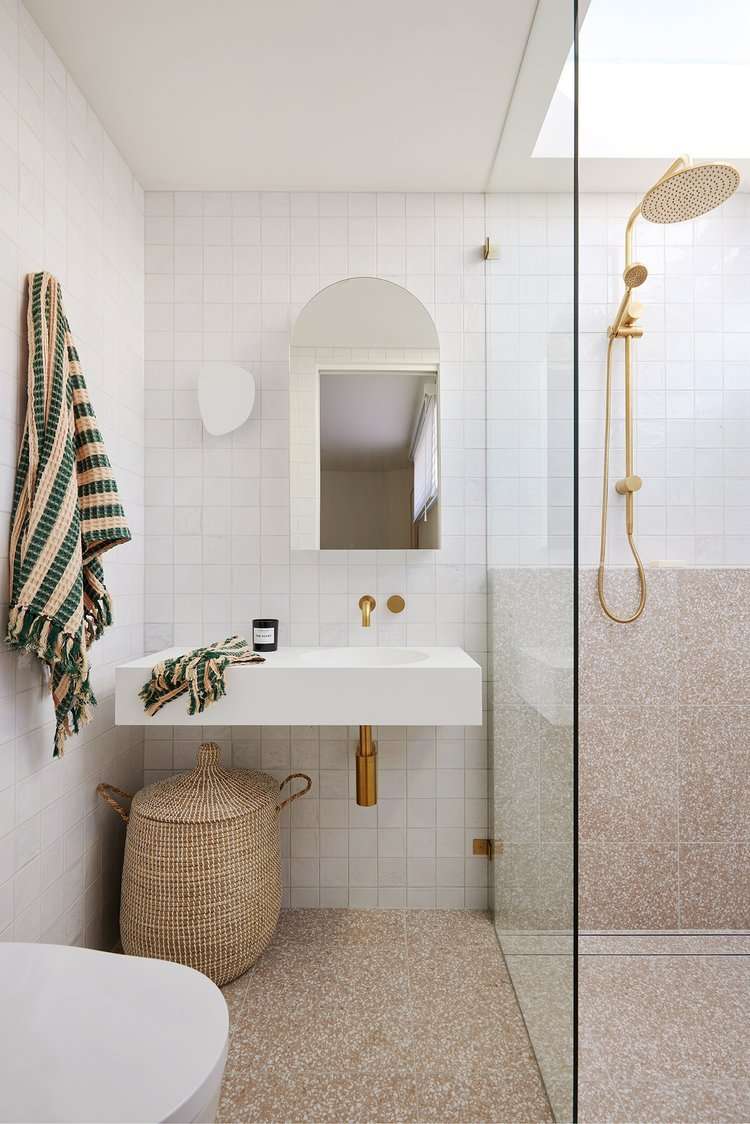
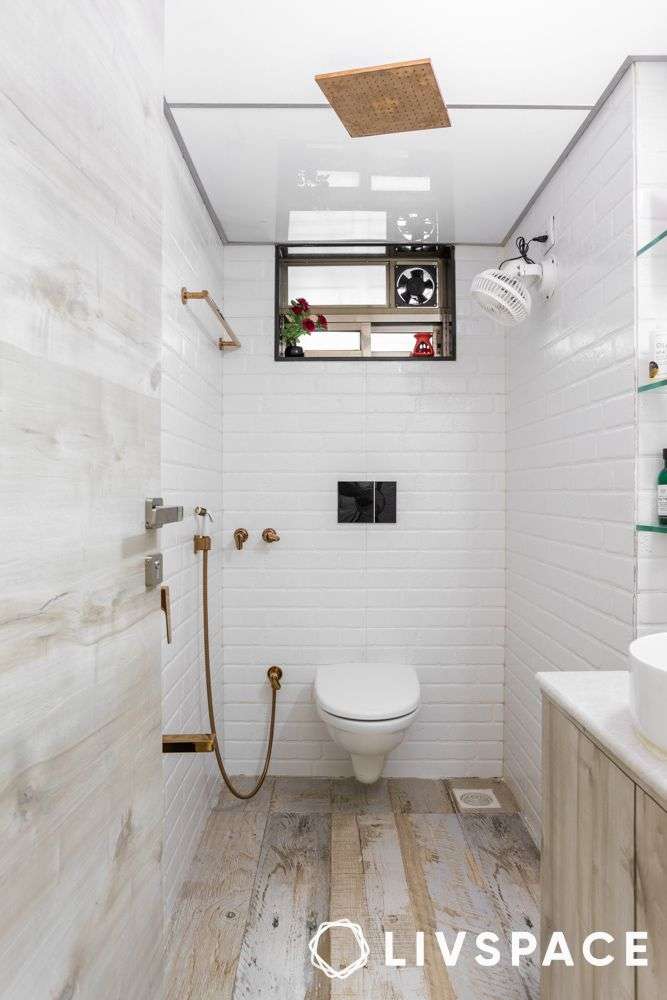
The selection of appropriate materials is paramount to the success of any kitchen or bathroom renovation project. The materials chosen must not only be aesthetically pleasing but also durable, functional, and suitable for the specific environment. For example, in a bathroom, materials must be resistant to moisture and mold growth. In a kitchen, materials must be heat-resistant, stain-resistant, and easy to clean. Furthermore, the materials should be selected to complement the overall design aesthetic and create a cohesive and harmonious space. Careful consideration should be given to the environmental impact of the materials, opting for sustainable and eco-friendly options whenever possible. The selection of high-quality materials will not only enhance the aesthetic appeal of the space but also ensure its longevity and durability.
FACTORS INFLUENCING MATERIAL CHOICE:
– Durability: Select materials that can withstand daily use and the rigors of the kitchen or bathroom environment.
– Maintenance: Consider the ease of cleaning and maintenance required for each material.
– Cost: Balance the cost of materials with their quality and longevity.
– Aesthetics: Choose materials that complement the overall design style and create a cohesive look.
– Sustainability: Opt for eco-friendly and sustainable materials whenever possible.
NAVIGATING POTENTIAL CHALLENGES
Despite careful planning and meticulous execution, unforeseen challenges can arise during a kitchen or bathroom renovation project. These challenges may include unexpected structural issues, delays in material delivery, or changes in the client’s requirements. It is imperative to select a designer who is adept at problem-solving and capable of navigating these challenges effectively. A skilled designer will be proactive in identifying potential issues and developing solutions to minimize their impact on the project timeline and budget. Clear and open communication between the client and the designer is essential for addressing challenges and ensuring a successful outcome. Furthermore, a contingency plan should be in place to address unexpected costs or delays.
ENSURING A SUCCESSFUL OUTCOME
To guarantee a successful outcome for your kitchen or bathroom renovation project, it is crucial to collaborate closely with your chosen designer throughout the entire process. This includes actively participating in design decisions, providing timely feedback, and maintaining open communication. A well-defined scope of work, a realistic budget, and a detailed timeline are essential for managing expectations and ensuring that the project stays on track. Regular site visits and progress meetings will allow you to monitor the progress of the renovation and address any concerns promptly. By working collaboratively with your designer and maintaining a proactive approach, you can ensure that your kitchen or bathroom renovation project is a resounding success. Ultimately, the key to achieving your desired results lies in choosing the right kitchen and bathroom designers Mt. Lebanon has available and fostering a strong working relationship.