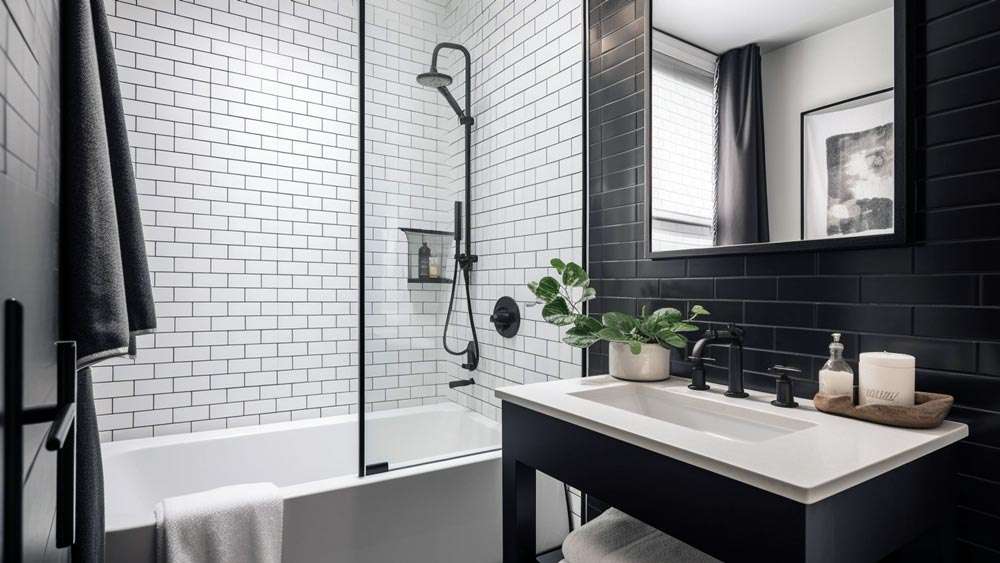
The stark contrast of black and white offers a timeless elegance and versatility that makes black and white bathroom interior design a consistently popular choice. It’s a design scheme that can be adapted to suit a variety of styles, from ultra-modern minimalism to vintage-inspired glamour. This classic combination allows for bold statements and subtle nuances, creating a space that is both sophisticated and inviting. The enduring appeal of black and white bathroom interior design lies in its ability to be both a blank canvas and a powerful design statement.
Creating a Balanced Black and White Bathroom
Achieving a well-balanced black and white bathroom requires careful consideration of proportion and texture. Too much black can feel oppressive, while too much white can feel sterile. The key is to find the right equilibrium that reflects your personal style and the overall mood you wish to create.
Tips for Balancing Black and White:
- Consider the size of your bathroom: Smaller bathrooms benefit from a higher proportion of white to maximize light and create a sense of spaciousness.
- Use texture to add depth: Incorporate textured tiles, such as subway tiles or marble, to break up the monotony of flat surfaces.
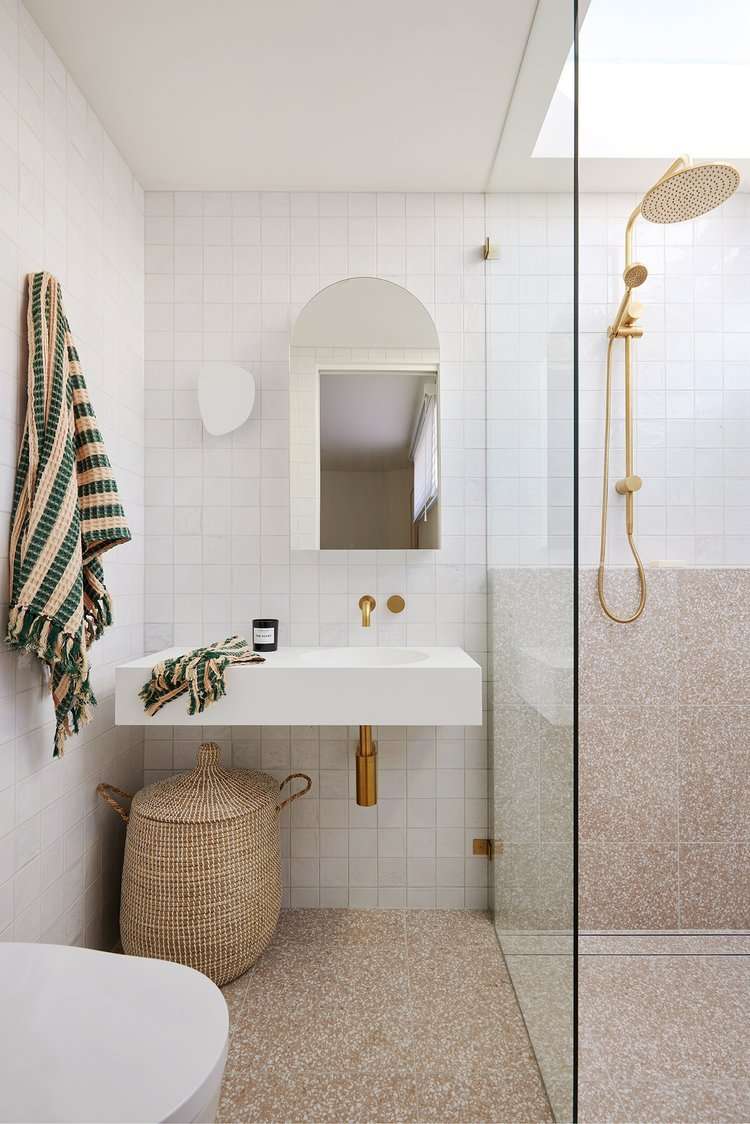
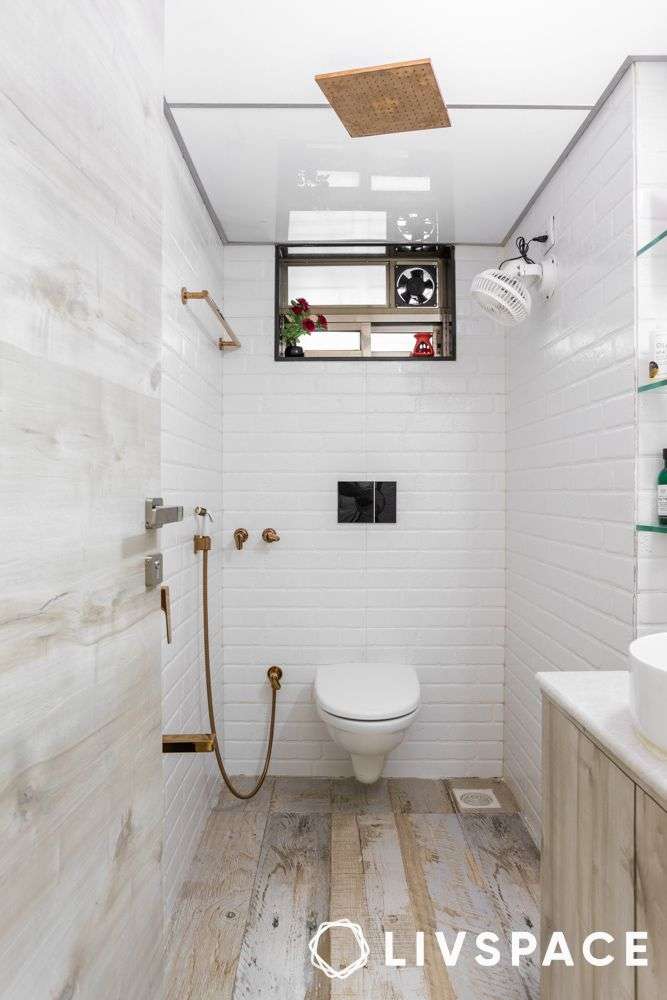
- Introduce natural elements: Wood accents, plants, and natural light can soften the harshness of black and white and add warmth to the space.
Exploring Different Styles with Black and White
The beauty of black and white lies in its adaptability to various design styles. Here are a few examples:
- Modern Minimalism: Clean lines, geometric shapes, and minimal accessories characterize this style. Think sleek black fixtures against a pristine white backdrop.
- Vintage Glamour: Incorporate elements like clawfoot tubs, ornate mirrors, and vintage-inspired tiles for a touch of old-world charm. Consider adding pops of gold or silver for extra glamour.
- Scandinavian Simplicity: Focus on natural materials like wood and stone, paired with simple black and white accents. This style emphasizes functionality and comfort.
Adding Personality to Your Black and White Bathroom
While black and white provides a strong foundation, it’s important to inject your own personality into the space. This can be achieved through:
- Accessories: Choose towels, bath mats, and artwork that reflect your personal taste. A pop of color can add visual interest and prevent the space from feeling too stark.
- Fixtures: Select unique faucets, showerheads, and lighting fixtures that complement the overall design.
- Greenery: Plants can add a touch of life and freshness to a black and white bathroom.
Consider the following comparative table for different design styles incorporating black and white:
| Style | Key Features | Suitable For | Examples |
|---|---|---|---|
| Modern Minimalist | Clean lines, geometric shapes, minimal accessories | Small to medium bathrooms | Sleek black fixtures, white subway tiles, frameless shower |
| Vintage Glamour | Clawfoot tub, ornate mirror, vintage-inspired tiles | Medium to large bathrooms | Black and white mosaic floor, pedestal sink, crystal chandelier |
| Scandinavian Simplicity | Natural materials, simple accents, functional design | Any bathroom size | Wood vanity, white shiplap walls, black framed mirror |
Ultimately, the best black and white bathroom interior design is one that reflects your individual style and meets your specific needs. By carefully considering the balance of black and white, exploring different styles, and adding personal touches, you can create a bathroom that is both beautiful and functional. This timeless color scheme offers endless possibilities for creating a space that is truly your own.
Beyond aesthetics, practical considerations play a crucial role in achieving a successful black and white bathroom. Lighting, for instance, is paramount. Bright, well-distributed lighting is essential, especially in bathrooms with a higher proportion of black, to prevent a gloomy atmosphere. Consider incorporating a variety of light sources, including ambient, task, and accent lighting, to create a layered and inviting space.
MATERIAL SELECTION FOR DURABILITY AND STYLE
Choosing the right materials is vital for both the longevity and visual appeal of your black and white bathroom. Consider materials that are durable, water-resistant, and easy to maintain. Some popular options include:
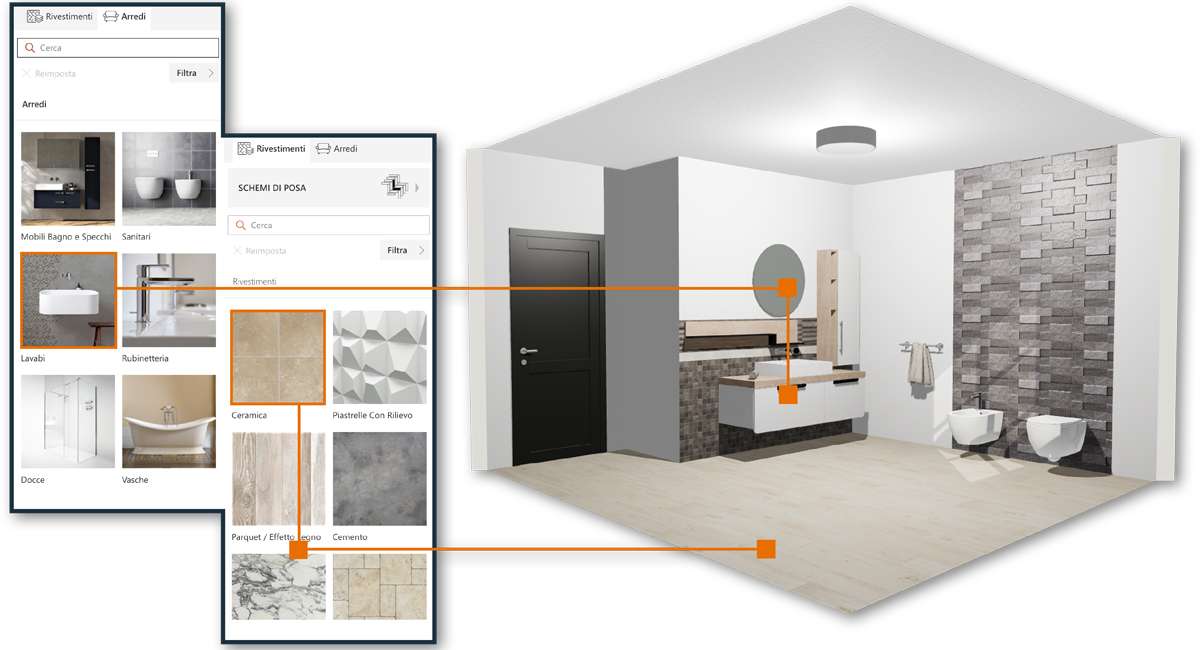
TILE OPTIONS:
– Porcelain: A versatile and durable option that comes in a wide range of sizes, shapes, and textures. It’s resistant to water, stains, and scratches, making it ideal for bathroom floors and walls.
– Ceramic: A more affordable alternative to porcelain, ceramic tiles are also water-resistant and easy to clean.
– Marble: A luxurious choice that adds a touch of elegance to any bathroom. However, marble is porous and requires sealing to prevent staining.
– Glass: A modern option that can be used for accent walls or backsplashes. Glass tiles are easy to clean and reflect light, making them ideal for smaller bathrooms.
MAINTAINING A PRISTINE BLACK AND WHITE BATHROOM
Keeping a black and white bathroom looking its best requires regular cleaning and maintenance. Black surfaces can show water spots and soap scum more easily than lighter colors, so it’s important to wipe down surfaces regularly. White surfaces, on the other hand, can be prone to staining, so it’s essential to address spills and messes promptly.
– Regular Cleaning: Wipe down surfaces with a mild detergent and water regularly.
– Prevent Water Spots: Use a squeegee after showering to prevent water spots on glass and tile.
– Address Stains Promptly: Clean up spills and messes immediately to prevent staining.
– Seal Porous Surfaces: Seal marble and other porous surfaces regularly to protect them from water damage and staining.
Adding smart storage solutions is also key to keeping the bathroom clutter-free, which is especially important for this type of design. Consider built-in shelving, floating vanities, and mirrored cabinets to maximize storage space without sacrificing style. Well-organized storage contributes to the overall clean and sophisticated look of a black and white bathroom. Remember that even small details, like the choice of hardware and accessories, can significantly impact the overall aesthetic. Selecting cohesive and complementary elements will enhance the polished and refined feel of the space.