Bathroom tiles are no longer just a functional necessity; they are a powerful element of interior design ideas bathroom tiles that can transform a mundane space into a personal oasis. Moving beyond the standard white squares, today’s options offer a vast spectrum of colors, textures, and patterns, allowing for truly unique and expressive designs. Thinking creatively about interior design ideas bathroom tiles opens up possibilities for creating a bathroom that reflects your individual style and enhances your daily routine. This article delves into innovative approaches to bathroom tile design, exploring unconventional materials, layouts, and color palettes to inspire your next renovation.
Unleashing the Power of Texture and Material
Forget the flat and predictable! Texture adds depth and visual interest to any bathroom. Consider these options:
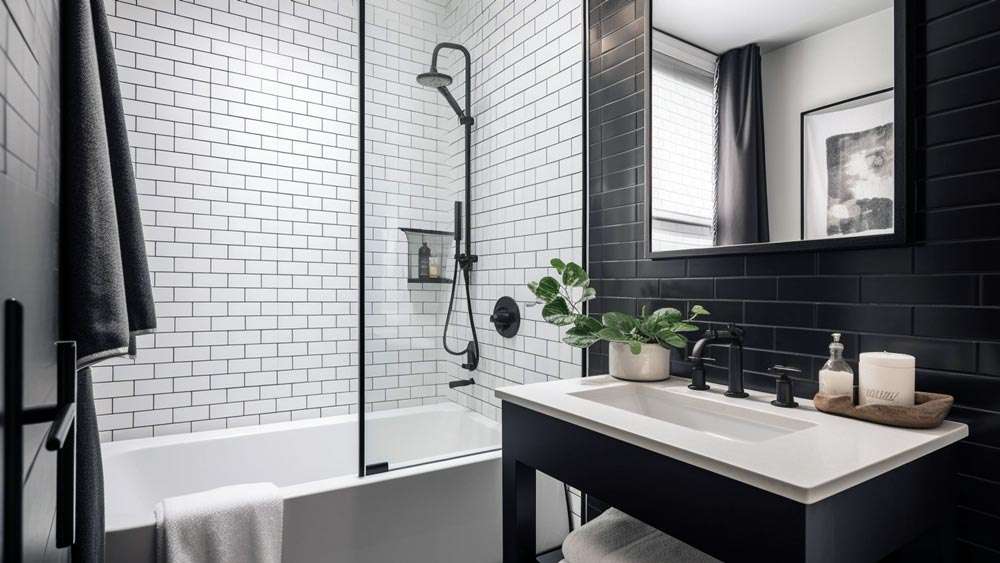
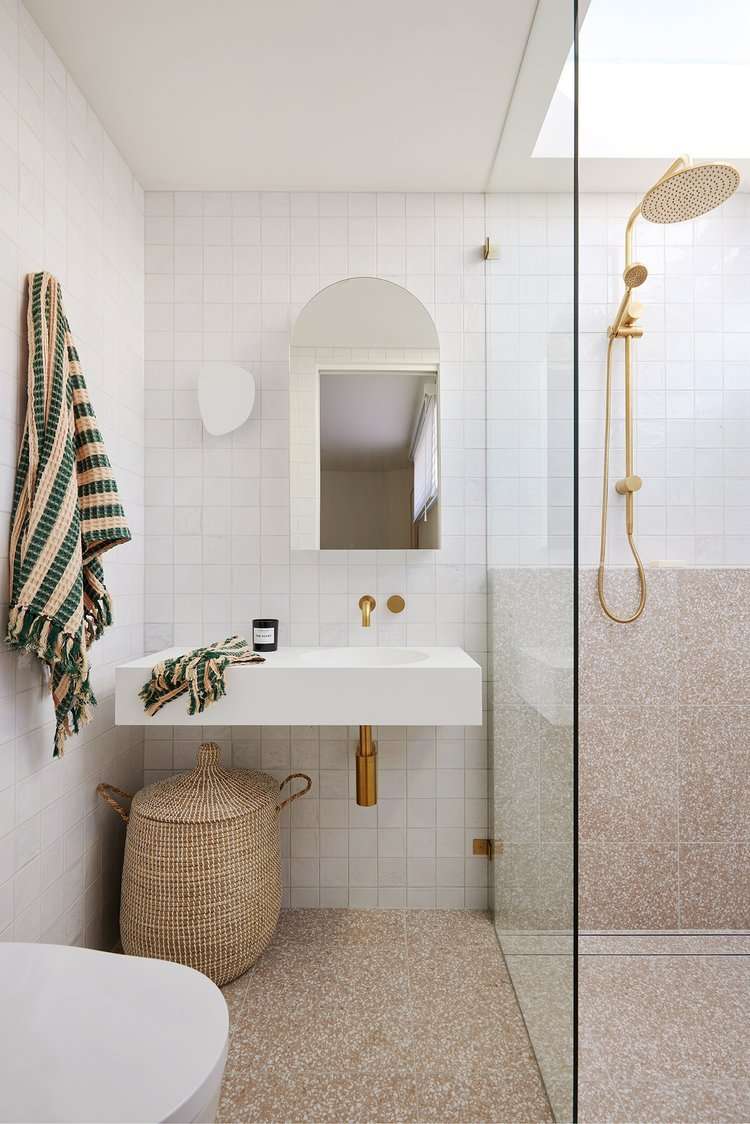
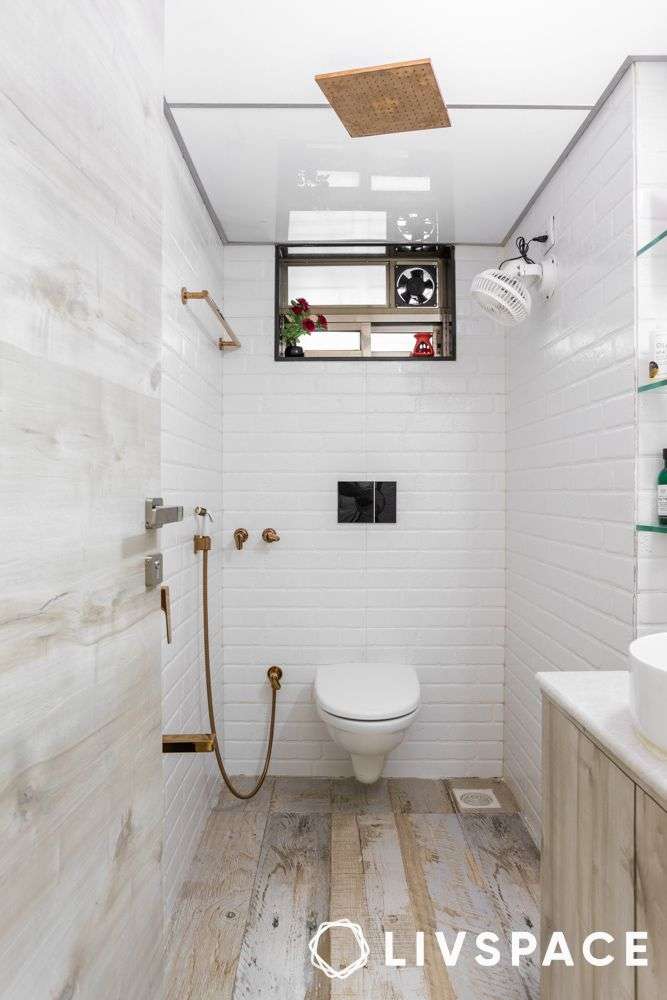
- Stone Tiles: Natural stone, like slate or travertine, brings an earthy and organic feel. Their inherent variations in color and texture create a one-of-a-kind look.
- Glass Tiles: These reflective surfaces can brighten a small bathroom and add a touch of modern elegance. Explore frosted, iridescent, or textured glass tiles for added visual appeal.
- 3D Tiles: Introduce a sculptural element with tiles that feature raised patterns or geometric shapes. This adds a tactile dimension and creates a striking focal point.
Mixing and Matching Materials
Don’t be afraid to combine different materials for a more dynamic and personalized design. For example, pair sleek porcelain tiles with a rustic stone accent wall, or use glass mosaic tiles to create a decorative border around a larger format tile.
Beyond the Square: Innovative Tile Layouts
The standard grid pattern is safe but can lack personality. Experiment with these alternative layouts:
- Herringbone: This classic pattern adds a touch of sophistication and can elongate a space.
- Vertical Stacking: Vertically stacked rectangular tiles can make a ceiling appear higher.
- Random Layout: Using tiles of varying sizes and colors in a seemingly random arrangement can create a playful and eclectic look.
Thinking Outside the Box (or Square!)
Consider using unusually shaped tiles, such as hexagons, triangles, or even penny tiles, to create a unique visual impact. You can even create custom patterns by cutting and arranging tiles in unexpected ways.
Color Psychology: Setting the Mood with Tile
Color plays a crucial role in shaping the ambiance of your bathroom. Consider these factors when choosing your tile colors:
- Cool Colors (Blues, Greens, Purples): These colors create a calming and relaxing atmosphere, perfect for a spa-like retreat.
- Warm Colors (Reds, Oranges, Yellows): These colors can add energy and warmth to a bathroom, making it feel more inviting.
- Neutral Colors (Whites, Grays, Beiges): These versatile colors provide a clean and timeless backdrop that can be easily accessorized with pops of color.
Ultimately, selecting the right tiles for your bathroom is about more than just practicality. Considering all the elements of interior design ideas bathroom tiles allows you to create a space that is both functional and beautiful.
LIGHTING AND TILE: A SYNERGISTIC RELATIONSHIP
Don’t underestimate the power of lighting to enhance your tile choices. The way light interacts with different tile surfaces can dramatically alter the perceived color, texture, and overall ambiance of your bathroom. Consider these lighting strategies:
– Under-Cabinet Lighting: Illuminating the floor beneath your vanity with LED strip lights can highlight textured tiles and create a sophisticated glow.
– Accent Lighting: Spotlights or wall sconces can be strategically placed to showcase a particularly beautiful tile feature, such as a mosaic border or a textured accent wall.
– Natural Light Maximization: If possible, maximize natural light by using sheer window coverings and light-colored tiles to reflect sunlight throughout the space.
THE IMPORTANCE OF COLOR TEMPERATURE
Pay attention to the color temperature of your light bulbs. Warm white light (around 2700-3000K) will create a cozy and inviting atmosphere, while cool white light (around 4000-5000K) will provide a brighter and more energizing feel. Choose a color temperature that complements your tile colors and the overall mood you want to create.
GROUT MATTERS: THE OFTEN-OVERLOOKED DETAIL
Grout is more than just a filler; it’s an integral part of your tile design. The color and width of your grout lines can significantly impact the overall look of your bathroom. Here’s what to consider:
– Color Contrast: Using a contrasting grout color can highlight the shape and pattern of your tiles, creating a bold and graphic look.
– Matching Grout: A grout color that closely matches your tiles will create a seamless and unified appearance.
– Grout Width: Wider grout lines can add a rustic or handmade feel, while narrower grout lines create a more modern and refined look.
SEALING YOUR GROUT
Always seal your grout to protect it from stains and mildew. Choose a high-quality grout sealer that is specifically designed for bathrooms and follow the manufacturer’s instructions carefully.
PLANNING FOR THE FUTURE: LONGEVITY AND MAINTENANCE
When choosing bathroom tiles, consider their durability and ease of maintenance. Opt for materials that are resistant to water, stains, and scratches. Here are some tips for keeping your tiles looking their best:
– Regular Cleaning: Wipe down your tiles regularly with a mild soap and water solution to prevent the buildup of dirt and grime.
– Avoid Harsh Chemicals: Avoid using abrasive cleaners or harsh chemicals, as they can damage the tile surface.
– Professional Cleaning: Consider hiring a professional tile cleaner every few years to deep clean your grout and restore the luster of your tiles.
By carefully considering these factors, you can select bathroom tiles that will not only enhance the beauty of your space but also stand the test of time. Remember, good design is an investment in both your comfort and your home’s value.