The enduring allure of gray and white bathrooms lies in their versatility and timeless elegance. From minimalist modern spaces to cozy farmhouse retreats, the combination of these two colors offers a blank canvas upon which to express your personal style. Exploring gray and white bathroom design ideas allows for endless customization, offering opportunities to play with textures, materials, and accents. It is important to carefully balance the tones and consider the amount of natural light available, to create a room that feels both inviting and refreshing. The possibilities for gray and white bathroom design ideas are truly limitless, offering a space where you can unwind and rejuvenate.
Understanding the Gray and White Palette
Gray and white are far from being simple, one-dimensional colors. They encompass a wide spectrum of shades, each capable of evoking a different mood.
Gray Shades: From Light to Dark
- Light Gray: Creates a sense of airiness and spaciousness. Ideal for smaller bathrooms or those with limited natural light.
- Medium Gray: A versatile choice that works well in a variety of styles. Provides a grounding effect without feeling too heavy.
- Dark Gray: Adds drama and sophistication. Best used in larger bathrooms with ample natural light to avoid feeling too enclosed.
White Shades: Warm vs. Cool
- Warm White: Ivory, cream, and off-white shades create a cozy and inviting atmosphere. Pair well with warmer gray tones and natural materials like wood.
- Cool White: Bright white and stark white shades offer a clean and modern look. Complement cooler gray tones and metallic accents.
Incorporating Texture and Materials
The success of a gray and white bathroom design often hinges on the careful selection of textures and materials. Using a variety of textures provides visual interest and adds depth to the space, preventing it from feeling flat or sterile.
Tile Options:
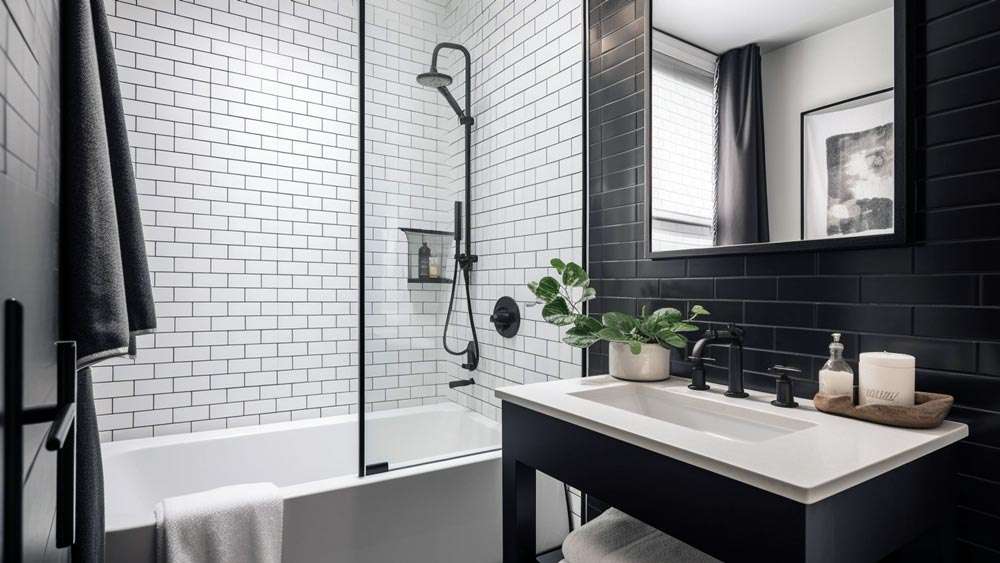
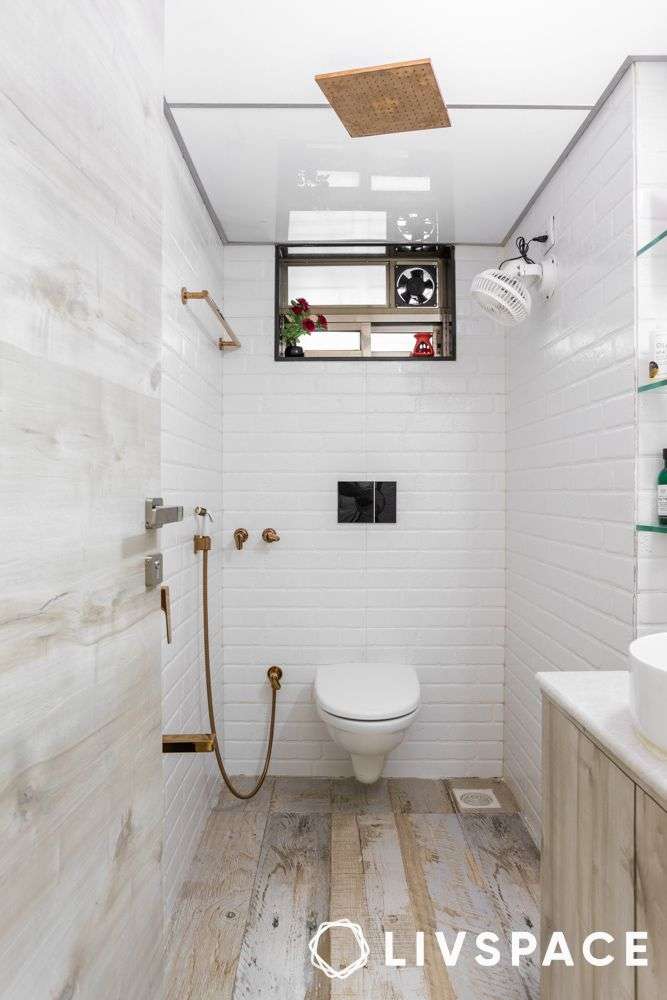
- Subway Tile: A classic choice that offers endless possibilities for pattern and layout. Consider using different grout colors to add contrast.
- Marble Tile: Adds a touch of luxury and sophistication. Choose a marble with gray veining to tie in the color scheme.
- Hexagon Tile: A playful and modern option that can be used on the floor or walls.
Other Material Considerations:
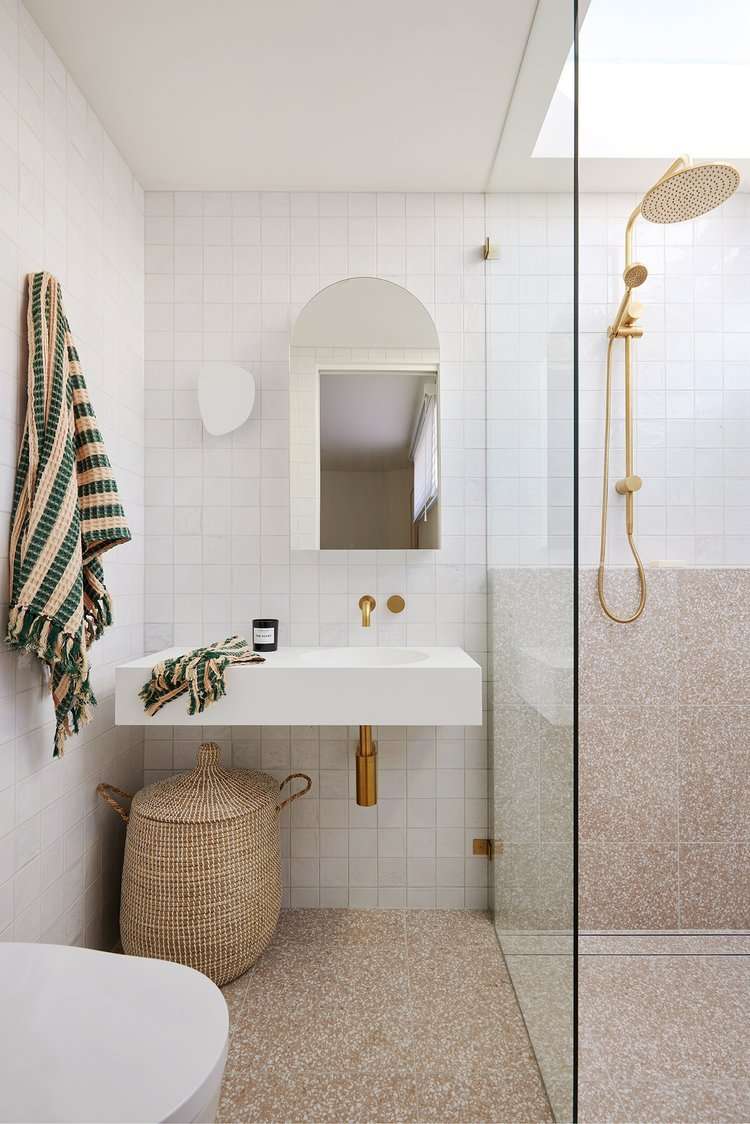
- Wood: Incorporate wood accents through vanity cabinets, shelving, or even wall paneling to add warmth and natural texture.
- Metal: Use metal finishes like brushed nickel, chrome, or matte black for faucets, showerheads, and hardware to complement the color palette.
- Textiles: Choose soft and luxurious towels, bath mats, and shower curtains to add comfort and visual appeal.
Balancing the Gray and White Ratio
Determining the right balance between gray and white is crucial for achieving the desired aesthetic. A predominantly white bathroom with gray accents will feel brighter and more spacious, while a predominantly gray bathroom with white accents will feel more dramatic and intimate;
Consider the following factors when deciding on the gray and white ratio:
- Bathroom Size: Smaller bathrooms benefit from a lighter color scheme to maximize the feeling of space.
- Natural Light: Bathrooms with limited natural light should prioritize white to brighten the space.
- Personal Preference: Ultimately, the ideal gray and white ratio depends on your personal taste and desired atmosphere.
No matter what style you choose, remember that gray and white bathroom design ideas are easily customizable to fit every need.
ACCESSORIZING YOUR GRAY AND WHITE SANCTUARY
Beyond the foundational elements of color, texture, and materials, the judicious application of accessories serves as the final flourish in a well-conceived gray and white bathroom. These accoutrements, while seemingly minor, contribute significantly to the overall ambiance and functionality of the space.
MIRROR SELECTION: FUNCTIONALITY AND FOCAL POINT
– Framed Mirrors: The frame material and finish should complement the existing hardware and color palette. Consider metallic finishes for a modern aesthetic or natural wood for a warmer, more rustic feel.
– Frameless Mirrors: Offer a clean and minimalist look, ideal for contemporary bathrooms. Illuminated options provide enhanced visibility and a touch of sophistication.
– Statement Mirrors: Larger, uniquely shaped mirrors can serve as a focal point, adding personality and visual interest to the space.
LIGHTING CONSIDERATIONS: ILLUMINATING THE DESIGN
– Ambient Lighting: Provides overall illumination for the bathroom. Recessed lighting, chandeliers, or pendant lights are suitable options.
– Task Lighting: Focuses on specific areas, such as the vanity or shower. Sconces, vanity lights, and adjustable showerheads with integrated lighting are recommended.
– Accent Lighting: Highlights architectural features or decorative elements. LED strip lighting or spotlights can be used to create a dramatic effect.
STORAGE SOLUTIONS: MAINTAINING ORDER AND ELEGANCE
– Vanity Cabinets: Maximize storage space while maintaining a cohesive design. Opt for cabinets with integrated organizers or custom-built solutions.
– Shelving: Open shelving provides an opportunity to display decorative items and essential toiletries. Floating shelves or built-in niches are popular choices.
– Baskets and Containers: Organize smaller items and add texture to the space. Woven baskets, glass jars, and ceramic containers are suitable options.
THE ENDURING APPEAL OF GRAY AND WHITE
The enduring popularity of gray and white bathroom designs stems from their inherent adaptability and timelessness. This color combination provides a foundation upon which to build a personalized and sophisticated space, capable of evolving alongside changing trends. When thoughtfully executed, a gray and white bathroom transcends mere functionality, becoming a sanctuary of tranquility and refined elegance. By carefully considering the nuances of shade, texture, and accessory selection, one can achieve a bathroom that is both aesthetically pleasing and highly functional. The skillful integration of these elements culminates in a space that not only meets the practical needs of daily life but also provides a respite from the rigors of the external world. Therefore, the ultimate objective in exploring gray and white bathroom design ideas is to craft a personal haven that reflects individual style and promotes well-being.