Designing a small bathroom requires careful consideration of every element‚ and the sink is no exception. Choosing the right bathroom sink for small spaces can dramatically impact the overall functionality and aesthetic appeal. From compact wall-mounted options to cleverly designed corner sinks‚ there’s a wealth of possibilities to explore. Selecting a sink that maximizes counter space and provides adequate storage is crucial in achieving a stylish and practical small bathroom‚ so‚ let’s dive into the best bathroom sink for small spaces designs.
Space-Saving Sink Styles
When space is at a premium‚ certain sink styles excel at maximizing functionality without sacrificing style. Here are a few top contenders:
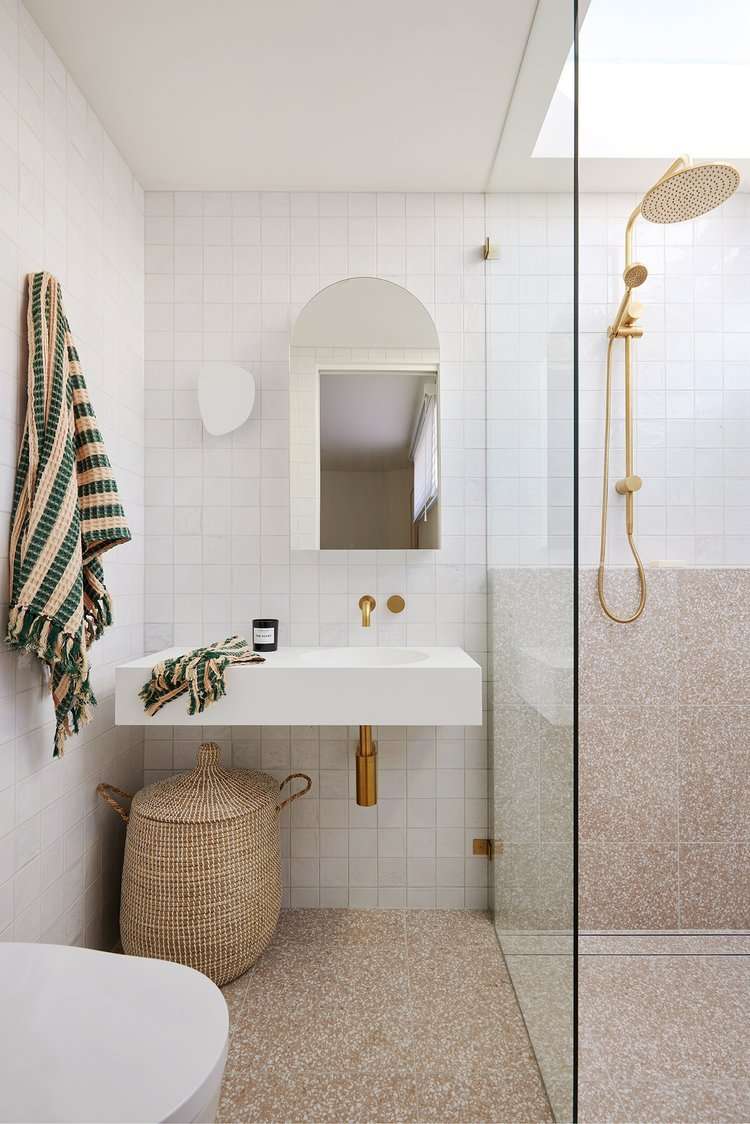
- Wall-Mounted Sinks: These sinks float above the floor‚ creating an open and airy feel while freeing up valuable floor space. They are perfect for minimalist designs.
- Corner Sinks: Designed to fit snugly into the corner of the room‚ these sinks utilize often-overlooked space and are ideal for awkward bathroom layouts.
- Pedestal Sinks: While not always the most space-efficient‚ slim pedestal sinks can offer a classic look in a small bathroom. Look for models with integrated storage solutions.
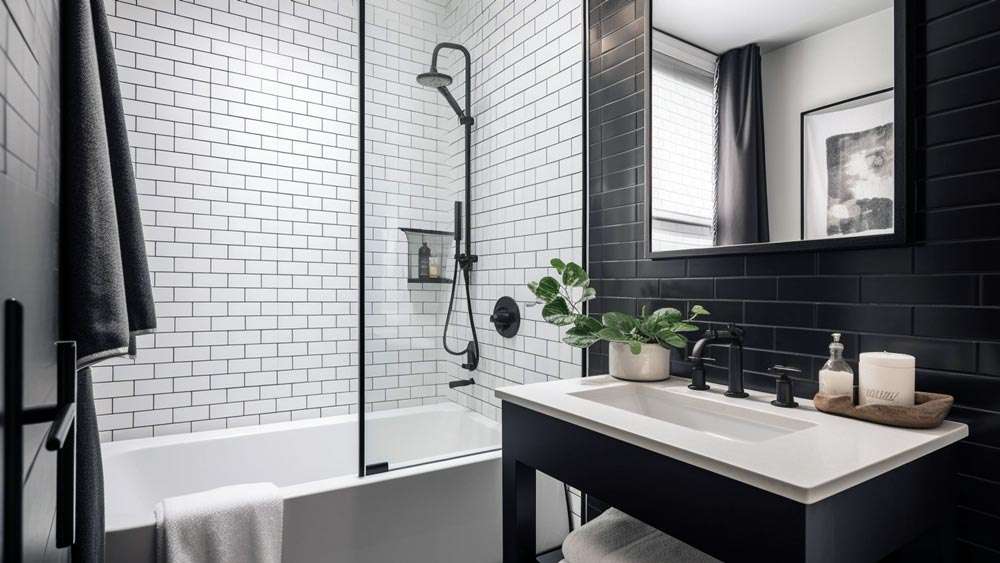
- Vessel Sinks with Floating Vanities: A vessel sink paired with a wall-mounted vanity creates a modern look and allows for storage underneath without taking up too much space.
Materials and Finishes
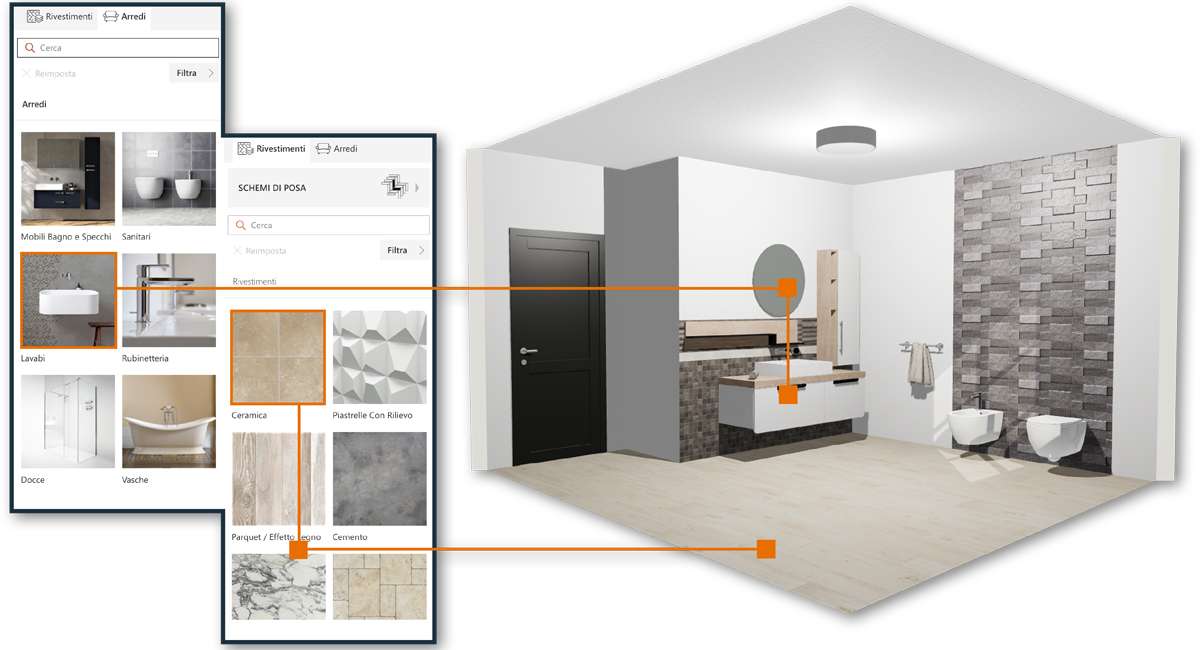
The material and finish of your sink can also contribute to the overall design aesthetic and impact how easy it is to maintain. Consider these options:
- Porcelain: A classic and durable choice that is easy to clean.
- Glass: Offers a sleek and modern look but may require more frequent cleaning to remove water spots.
- Stone: Adds a touch of luxury and natural beauty‚ but can be more expensive and require special care.
- Stainless Steel: A durable and hygienic option that is easy to clean and maintain.
Design Considerations
Beyond the style and materials‚ there are other design considerations to keep in mind when choosing a sink for a small bathroom:
Storage Solutions
Maximize storage by choosing a sink with integrated storage options such as drawers‚ shelves‚ or cabinets. A vanity with open shelving can create a sense of spaciousness while providing storage for towels and toiletries.
Faucet Selection
Choose a faucet that complements the sink style and size. Wall-mounted faucets can save counter space‚ while single-hole faucets are ideal for smaller sinks.
Lighting
Proper lighting is essential in a small bathroom. Consider adding a light fixture above or around the sink to brighten up the space and improve visibility.
Creating a functional and stylish small bathroom is entirely possible with the right bathroom sink for small spaces. By carefully considering the sink style‚ materials‚ and storage options‚ you can transform your compact bathroom into a comfortable and inviting space.
MIRROR‚ MIRROR
The mirror above your chosen sink plays a significant role in both functionality and visual expansion. Opt for a large‚ frameless mirror to reflect light and create the illusion of a larger room. Mirrored cabinets offer a dual purpose‚ providing storage while maintaining a clean aesthetic. Consider a round or oval mirror to soften the angles often present in small‚ rectangular bathrooms.
INSTALLATION TIPS
Proper installation is crucial for ensuring the longevity and functionality of your new sink. Here are some helpful tips:
– Measure Carefully: Before purchasing a sink‚ accurately measure the available space to ensure a proper fit.
– Check Plumbing: Inspect the existing plumbing and make any necessary adjustments before installing the new sink.
– Professional Installation: If you are not comfortable with plumbing‚ consider hiring a professional to ensure a safe and proper installation.
– Sealant: Use a high-quality sealant around the edges of the sink to prevent water damage.
COMPARATIVE TABLE: SINK TYPES FOR SMALL BATHROOMS
Sink Type
Pros
Cons
Ideal For
Wall-Mounted
Saves floor space‚ modern look
Limited storage‚ exposed plumbing
Minimalist designs‚ maximizing floor space
Corner
Utilizes unused corners‚ space-saving
Can be awkward to use‚ limited styles
Small‚ oddly shaped bathrooms
Pedestal
Classic look‚ relatively easy to install
Limited storage‚ takes up floor space
Small bathrooms prioritizing aesthetics
Vessel with Floating Vanity
Stylish‚ allows for under-sink storage
Can be more expensive‚ requires careful faucet selection
Modern bathrooms with storage needs
Ultimately‚ the best choice for a bathroom sink for small spaces depends on your individual needs‚ preferences‚ and the specific layout of your bathroom. By carefully considering all of these factors‚ you can create a functional and stylish space that you’ll enjoy for years to come.