The humble kitchen sink sprayer attachment, often overlooked, plays a vital role in maintaining a clean and efficient kitchen. From rinsing produce to blasting away stubborn food residue, its functionality is undeniable. However, like any frequently used component, the kitchen sink sprayer attachment replacement eventually becomes necessary. Choosing the right replacement involves understanding different types, compatibility considerations, and the actual replacement process itself. This comprehensive guide will explore each of these aspects, ensuring you can restore your sink’s spraying power with ease.
Understanding Your Kitchen Sink Sprayer Attachment
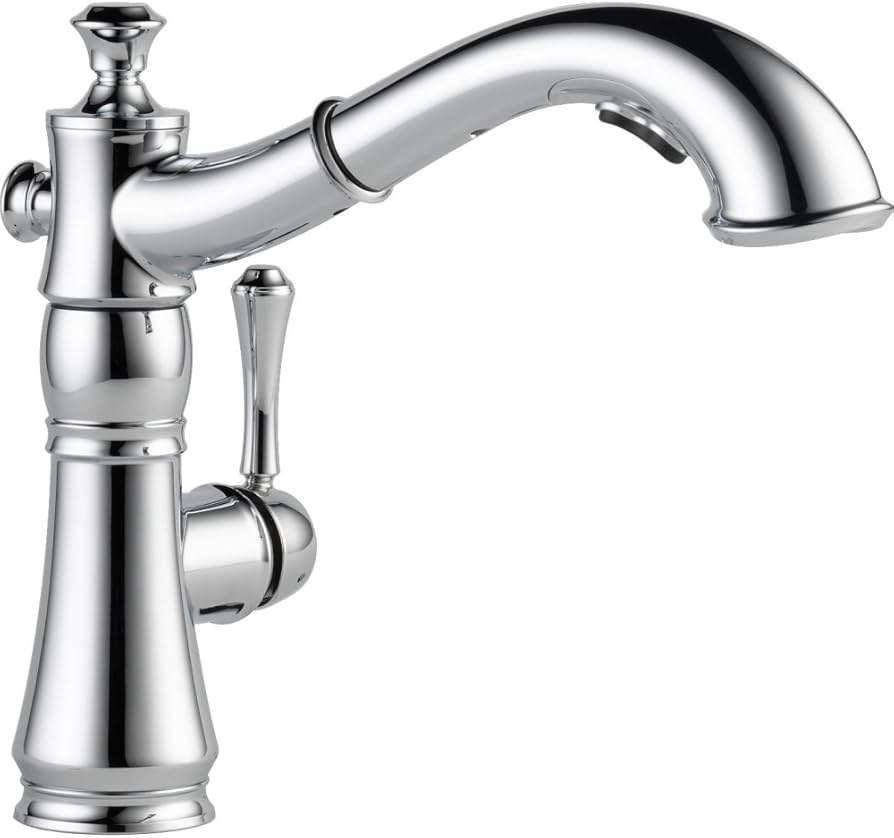
Before diving into the replacement process, it’s crucial to understand the anatomy and types of kitchen sink sprayers. Most sprayers consist of a spray head, a hose, and a diverter valve that controls the water flow between the faucet and the sprayer. Identifying the type of sprayer you have – side sprayer, pull-down sprayer, or pull-out sprayer – is the first step in selecting the correct kitchen sink sprayer attachment replacement.
Types of Sprayer Attachments
- Side Sprayers: These are mounted separately from the main faucet and connected via a hose.
- Pull-Down Sprayers: Integrated into the faucet, these sprayers pull down from the faucet head.
- Pull-Out Sprayers: Similar to pull-down sprayers, but the hose is typically longer and extends further from the sink.
Choosing the Right Replacement
Selecting the correct replacement involves considering several factors, including:
- Compatibility: Ensure the replacement sprayer is compatible with your existing faucet and plumbing connections. Check the manufacturer’s specifications or consult a plumbing professional.
- Material: Sprayers are available in various materials, such as plastic, metal, and composite materials. Metal sprayers are generally more durable but can be more expensive.
- Finish: Choose a finish that matches your existing faucet to maintain a cohesive aesthetic.
- Spray Patterns: Some sprayers offer multiple spray patterns, such as stream, spray, and pause. Consider which patterns are most important to you.
The Replacement Process
Replacing a kitchen sink sprayer attachment is a relatively straightforward DIY project. However, safety should always be a priority. Before starting, turn off the water supply to the faucet.
- Disconnect the Old Sprayer: Disconnect the hose from the faucet’s diverter valve. You may need a wrench to loosen the connection.
- Remove the Old Sprayer Head: Depending on the type of sprayer, you may need to unscrew or unclip the old sprayer head from the hose.
- Install the New Sprayer Head: Connect the new sprayer head to the hose, ensuring a secure connection.
- Connect the Hose to the Diverter Valve: Attach the hose to the diverter valve, tightening the connection with a wrench.
- Test the Sprayer: Turn the water supply back on and test the sprayer for leaks.
Troubleshooting Common Issues
Even with careful installation, some issues may arise:
- Leaks: Check all connections for tightness. You may need to use Teflon tape to seal the threads.
- Low Water Pressure: Clean the sprayer head for mineral buildup.
- Sprayer Not Working: Ensure the diverter valve is functioning correctly.
A functional kitchen sink sprayer is an essential part of any kitchen. Replacing it when necessary ensures efficient cleaning and a more pleasant cooking experience. With the right knowledge and a little effort, performing a kitchen sink sprayer attachment replacement can be a simple and rewarding task.
MAINTAINING YOUR NEW SPRAYER ATTACHMENT
Following successful installation, proactive maintenance strategies are paramount to ensuring the longevity and optimal performance of the newly installed kitchen sink sprayer attachment. Regular cleaning to mitigate mineral accumulation is strongly advised, particularly in regions characterized by hard water. A diluted solution of vinegar and water can effectively dissolve mineral deposits that impede water flow and compromise spray pattern integrity. Furthermore, periodic inspection of the hose for signs of wear or degradation is recommended. Cracks or kinks in the hose can result in reduced water pressure or, in more severe instances, leaks. Prompt replacement of a compromised hose is crucial to prevent further damage and maintain the functionality of the system.
ADVANCED CONSIDERATIONS: SPRAYER TECHNOLOGIES AND FEATURES
Beyond basic functionality, contemporary kitchen sink sprayers incorporate a range of advanced technologies and features designed to enhance user experience and optimize water efficiency. Some models feature integrated flow regulators that automatically adjust water pressure to conserve water without sacrificing performance. Others incorporate touch-clean nozzles that facilitate effortless removal of mineral deposits with a simple wipe. Moreover, certain high-end sprayers offer multiple spray modes, including aerated streams for delicate tasks and powerful jet sprays for heavy-duty cleaning. When selecting a replacement sprayer, careful consideration of these advanced features can significantly improve the overall utility and convenience of the kitchen sink area.
PROFESSIONAL CONSULTATION: WHEN TO SEEK EXPERT ASSISTANCE
While the replacement of a kitchen sink sprayer attachment is generally considered a manageable DIY project, certain circumstances may warrant professional intervention. If, upon inspection, the diverter valve is found to be damaged or corroded, replacement of the entire faucet assembly may be necessary. Similarly, if the plumbing connections are difficult to access or if there is evidence of pre-existing plumbing issues, engaging the services of a qualified plumber is strongly recommended. Attempting to force connections or undertaking repairs without adequate expertise can result in significant damage to the plumbing system and potential water damage. A licensed plumber possesses the necessary skills and tools to diagnose and resolve complex plumbing issues safely and efficiently.
Investing in the appropriate kitchen sink sprayer attachment replacement and adhering to recommended maintenance protocols ensures not only the functionality of your kitchen sink but also contributes to water conservation and the overall value of your home. The enduring benefits of a well-maintained kitchen sink sprayer far outweigh the initial investment and effort required for its upkeep.


