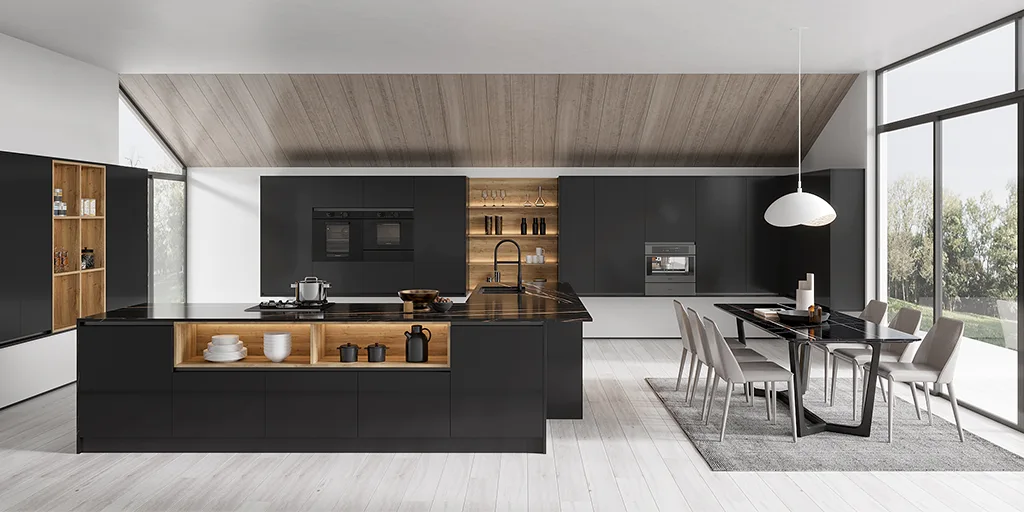
Finding the perfect kitchen island with a sink and dishwasher can transform your kitchen into a more functional and stylish space. These islands provide extra counter space, storage, and the convenience of a built-in sink and dishwasher, streamlining meal preparation and cleanup. However, with so many options available, knowing where to start your search can be overwhelming. This article explores various retailers and factors to consider when looking for the ideal kitchen island with sink and dishwasher for your home. This guide will help you navigate the market and locate the kitchen island with sink and dishwasher that best suits your needs and budget.
Online Retailers: A World of Options at Your Fingertips
The internet has revolutionized shopping, offering a vast selection of kitchen islands from the comfort of your home. Here are a few popular online retailers:
- Wayfair: Known for its extensive catalog and competitive prices, Wayfair offers a diverse range of kitchen islands in various styles and sizes.
- Amazon: A convenient option for many, Amazon boasts a large selection of kitchen islands, often with fast shipping and customer reviews to guide your purchase.
- Overstock: Overstock is a great resource for finding discounted furniture, including kitchen islands. Be sure to check their sales and promotions for potential bargains.
- Houzz: Houzz provides a curated selection of kitchen islands, often featuring unique and high-end designs. It’s a great place to find inspiration and discover new trends.
Brick-and-Mortar Stores: See and Touch Before You Buy
While online shopping offers convenience, visiting brick-and-mortar stores allows you to physically examine the kitchen island and assess its quality firsthand. Consider these options:
- IKEA: IKEA offers affordable and stylish kitchen islands with a focus on functionality and modularity.
- Home Depot & Lowe’s: These home improvement giants typically carry a selection of kitchen islands, often with options for professional installation.
- Local Furniture Stores: Support your local economy and explore unique pieces at independent furniture stores. They may offer customized options or higher-quality materials.
Factors to Consider Before Buying
Choosing the right kitchen island requires careful consideration of several factors. Here’s what to keep in mind:
Size and Layout
Measure your kitchen space carefully to ensure the island fits comfortably without obstructing traffic flow. Consider the distance between the island and surrounding countertops and appliances.
Style and Design
Select an island that complements your existing kitchen decor. Consider the materials, finishes, and overall aesthetic to create a cohesive look.
Functionality
Think about how you plan to use the island. Do you need extra storage, a prep area, or seating? Choose an island with features that meet your specific needs.
Comparative Table: Online vs. Brick-and-Mortar
| Feature | Online Retailers | Brick-and-Mortar Stores |
|---|---|---|
| Selection | Vast and diverse | Limited to in-store inventory |
| Price | Often competitive | May be higher due to overhead costs |
| Convenience | Shop from home, 24/7 | Requires travel and store hours |
| Inspection | Limited to photos and reviews | Physical examination possible |
| Returns | Vary by retailer | Easier in-person returns |
Ultimately, the best place to buy a kitchen island with a sink and dishwasher depends on your individual preferences and priorities. The options are numerous, and careful research is essential. Now that you know where to look for the perfect kitchen addition, you can start the search for your new kitchen island with sink and dishwasher.