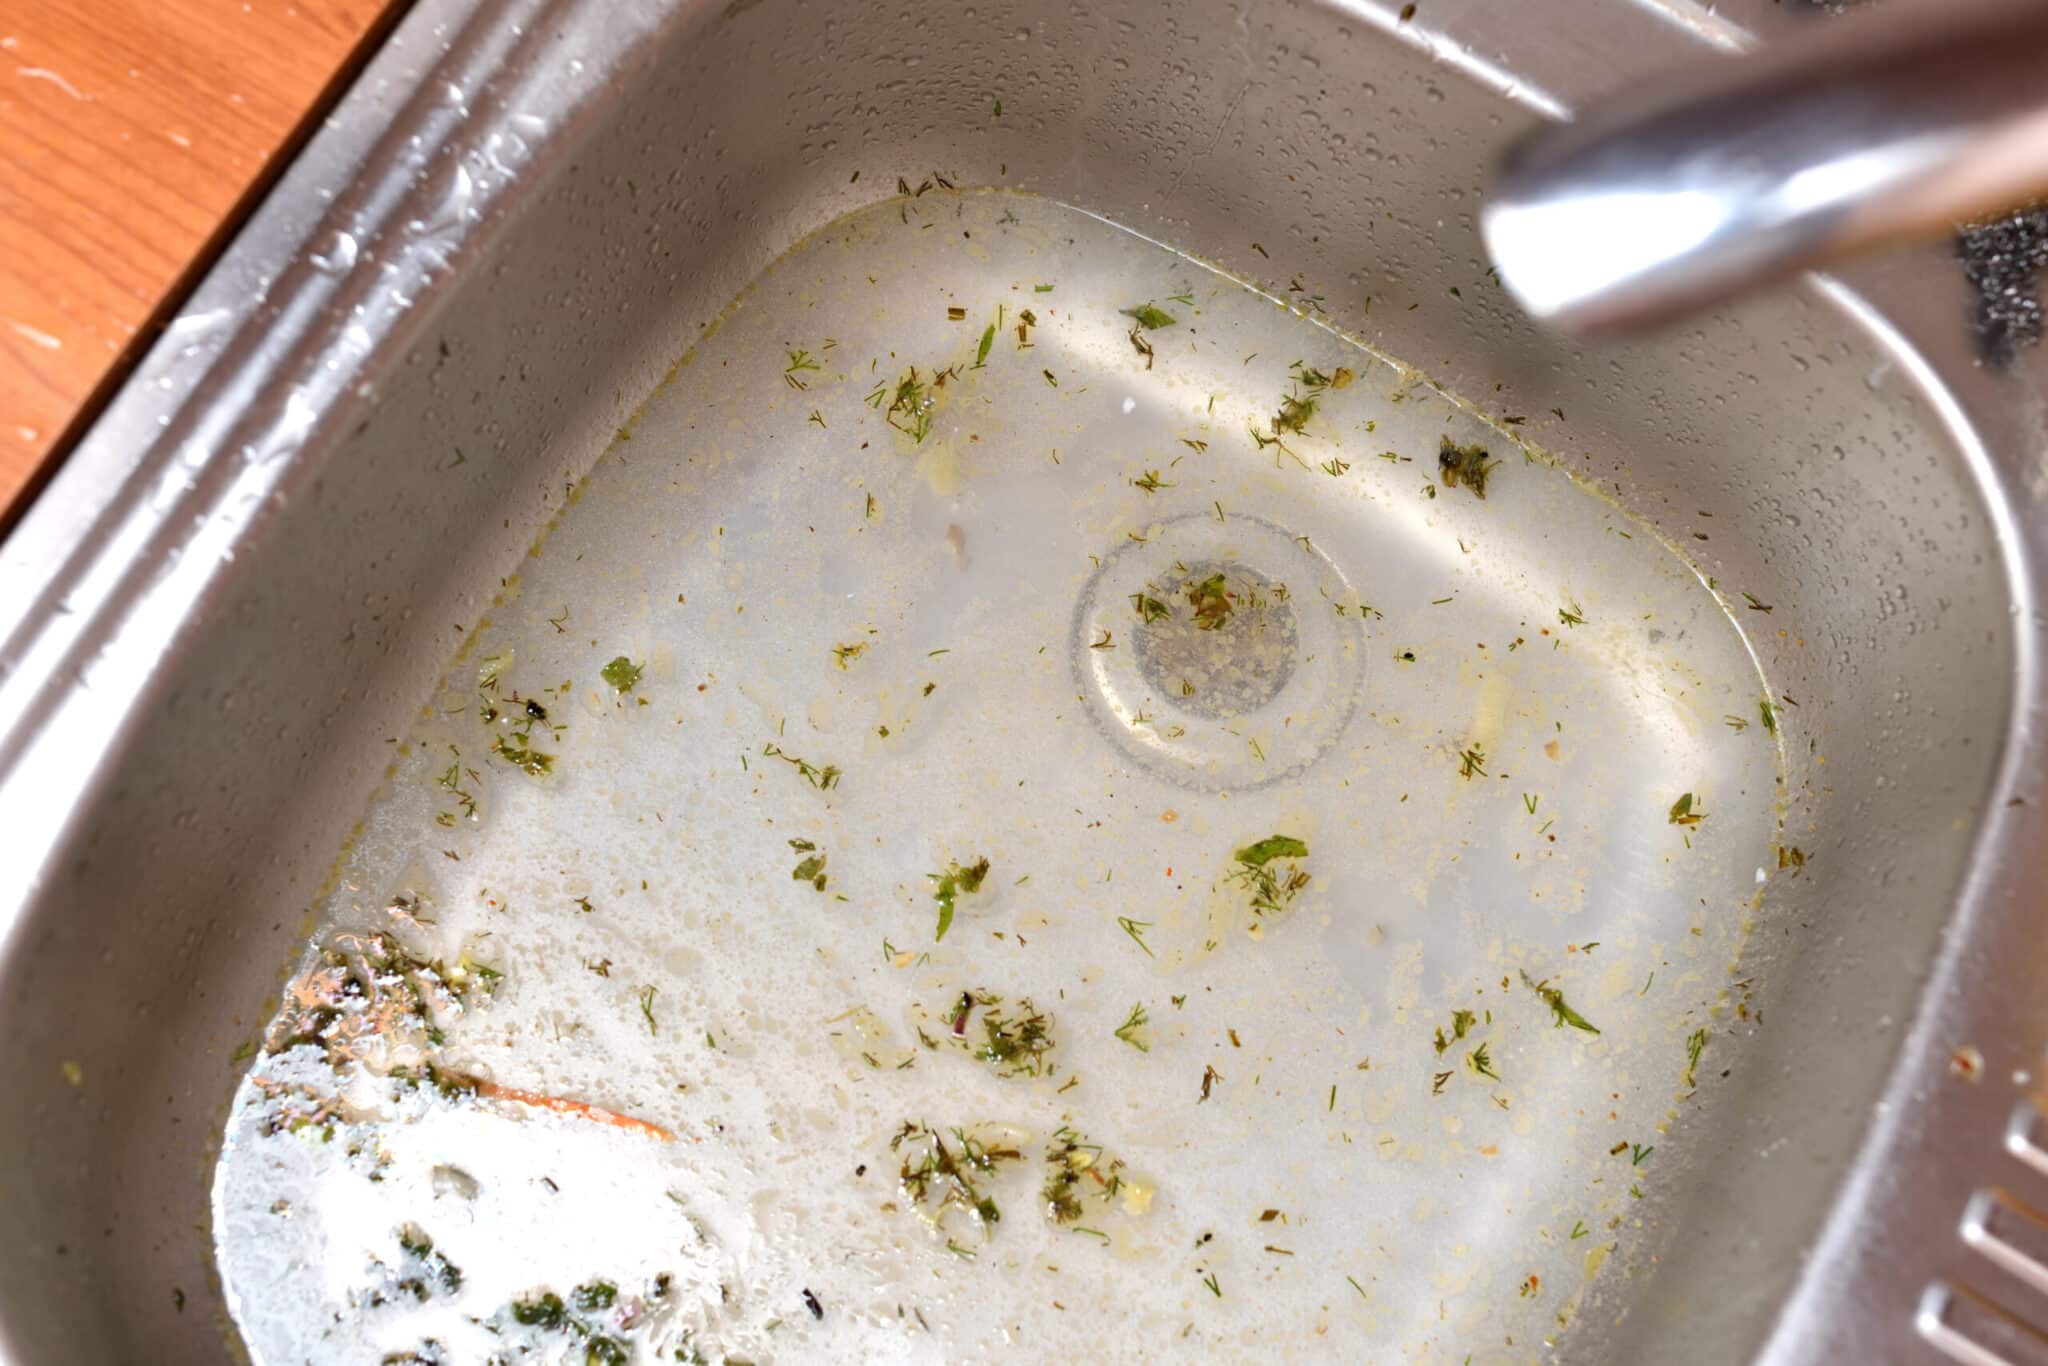
Dealing with a clogged kitchen sink garbage disposal is a common household headache, often resulting in frustration and potential damage if not addressed promptly. The unpleasant odor emanating from the drain is a clear indicator, signaling that food particles and debris have accumulated, obstructing the proper flow of water. Before calling a plumber, there are several DIY methods you can attempt to restore your garbage disposal to its optimal working condition. Understanding the components and proper usage of your garbage disposal is crucial in preventing future clogs and maintaining a sanitary kitchen environment. This guide provides step-by-step instructions and helpful tips on safely and effectively clearing a clogged kitchen sink garbage disposal.
Safety First: Before You Begin
Your safety is paramount. Before attempting any troubleshooting, always disconnect the power supply to the garbage disposal. This can usually be done by switching off the circuit breaker that controls the disposal or unplugging it from the outlet under the sink. Double-check that the power is off to prevent accidental activation while you are working.
Common Causes of Clogs
Understanding why your garbage disposal clogs can help you prevent future occurrences. Here are some common culprits:
- Grease and Oils: These solidify and coat the drain pipes, trapping food particles;
- Starchy Foods: Pasta, rice, and potatoes can expand and form a sticky mass.
- Fibrous Vegetables: Celery, corn husks, and onion skins can wrap around the impeller blades.
- Coffee Grounds: While small amounts are generally okay, large quantities can accumulate and cause blockages.
- Bones and Hard Objects: These can damage the impeller blades and jam the motor.
Step-by-Step Guide to Clearing a Clog
Method 1: Using Tongs or Pliers
- Carefully inspect the disposal chamber using a flashlight.
- Remove any visible obstructions, such as bones, silverware, or large food pieces, using tongs or pliers.
- Never put your hand inside the disposal.
Method 2: The Plunger Technique
This method works best when the sink is partially filled with water.
- Remove the drain stopper and ensure there is enough water in the sink to cover the cup of the plunger.
- Place the plunger over the drain opening, creating a tight seal.
- Push and pull the plunger vigorously for several minutes.
- Remove the plunger and check if the water drains. If not, repeat the process.
Method 3: Baking Soda and Vinegar
This natural remedy can help break down grease and debris.
- Pour one cup of baking soda down the drain.
- Follow with one cup of white vinegar.
- Let the mixture fizz for 30 minutes.
- Flush the drain with hot water for several minutes.
Preventing Future Clogs
Preventing clogs is easier than fixing them. Here are some tips to keep your garbage disposal running smoothly:
- Run cold water: Always run cold water while the disposal is operating and for a few seconds afterward.
- Cut food into small pieces: Avoid overloading the disposal with large chunks of food.
- Avoid putting prohibited items down the drain: Steer clear of grease, oil, starchy foods, fibrous vegetables, and bones.
- Regularly clean the disposal: Grind ice cubes and lemon or lime peels to freshen and clean the disposal.
If you’ve tried all these methods and your kitchen sink garbage disposal remains clogged, it’s time to call a qualified plumber. Ignoring the problem can lead to more significant plumbing issues. Keeping your garbage disposal running smoothly requires consistent care and awareness of what should and shouldn’t go down the drain. By following these tips, you can extend the life of your disposal and avoid the inconvenience of recurring clogs. Remember to always prioritize safety when working with electrical appliances and consult a professional when in doubt.
Beyond basic troubleshooting, consider the age and condition of your garbage disposal. A unit nearing the end of its lifespan might be more prone to clogs and malfunctions. Regular maintenance, like checking for loose parts or unusual noises, can help identify potential problems early on. If you notice a persistent humming sound without the motor running, the disposal might be jammed. In this case, use a specialized wrench (often included with the disposal) to manually turn the impeller from the bottom of the unit. This can dislodge any obstructions that are preventing it from spinning.
TROUBLESHOOTING COMMON ISSUES
UNPLEASANT ODORS
A smelly garbage disposal is a common complaint. Combat this by grinding citrus peels (lemon, lime, or orange) or pouring a mixture of baking soda and hot water down the drain. These natural deodorizers will help freshen the disposal and eliminate lingering odors. Avoid using harsh chemical drain cleaners, as they can damage the disposal’s components and pose a risk to your plumbing system.
LEAKING DISPOSAL
Leaks can occur from various points on the disposal, such as the sink flange, the dishwasher connection, or the disposal housing itself. If you notice a leak, immediately disconnect the power and inspect the area carefully. Tighten any loose connections, replace worn-out seals, or consider replacing the entire unit if the housing is cracked or corroded.
HUMMING BUT NOT GRINDING
As mentioned previously, this usually indicates a jammed impeller. Disconnect the power, locate the reset button (typically red) on the bottom of the disposal, and press it. Then, use the specialized wrench to manually rotate the impeller back and forth. Once you feel it move freely, try running the disposal again with cold water.
WHEN TO CALL A PROFESSIONAL
While many garbage disposal issues can be resolved with DIY methods, certain situations require the expertise of a licensed plumber. These include:
– Persistent clogs: If you’ve tried multiple methods and the clog remains, it could indicate a deeper plumbing problem.
– Electrical issues: If the disposal is tripping the circuit breaker or sparking, do not attempt to fix it yourself.
– Leaks that cannot be resolved: If you’ve tightened connections and replaced seals, but the leak persists, it could indicate a more serious problem with the disposal housing.
– Unusual noises: Loud grinding, rattling, or banging noises can indicate damaged components that require professional repair or replacement.
Remember, preventative maintenance is key to prolonging the life of your garbage disposal and avoiding costly repairs. By following these guidelines and addressing issues promptly, you can keep your kitchen sink functioning smoothly for years to come.