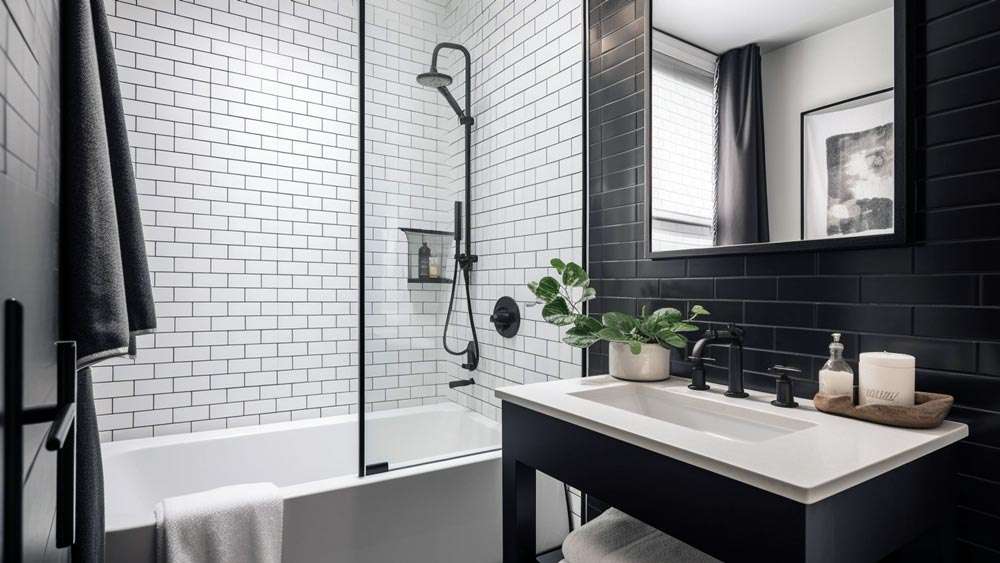
Transforming a bathroom into a personal oasis requires a vision, a keen eye for detail, and the expertise to bring that vision to life․ In Jefferson City, MO, homeowners are increasingly seeking professional bathroom design services jefferson city mo to create spaces that are both functional and aesthetically pleasing․ The right design can not only enhance the daily routine but also significantly increase the property’s value․ Selecting from the numerous bathroom design services jefferson city mo available requires careful consideration of experience, portfolio, and communication style․
Why Invest in Professional Bathroom Design?
Investing in professional bathroom design offers several compelling advantages over attempting a DIY renovation․ These advantages extend beyond simply aesthetics and encompass functionality, budget management, and long-term value․
- Expertise and Knowledge: Designers possess in-depth knowledge of materials, fixtures, and spatial planning․
- Cost-Effectiveness: While there is an upfront cost, professional design can prevent costly mistakes and ensure efficient resource allocation․
- Time Savings: A designer handles the complexities of the project, freeing up your time and reducing stress․
- Enhanced Functionality: They can optimize the layout to maximize space and improve usability․
- Increased Home Value: A well-designed bathroom is a significant selling point for potential buyers․
Key Considerations When Choosing a Design Service
Choosing the right bathroom design service is crucial for a successful renovation project․ Here are some key factors to consider:
Portfolio and Style
* Review the designer’s portfolio to ensure their aesthetic aligns with your preferences․
* Look for evidence of versatility and the ability to adapt to different design styles․
* Pay attention to the quality of the materials and the attention to detail in their previous projects․
Experience and Reputation
* Inquire about the designer’s experience in bathroom renovations, specifically in Jefferson City, MO․
* Read online reviews and testimonials to gauge their reputation and customer satisfaction․
* Ask for references and contact previous clients to get firsthand feedback․
Communication and Collaboration
* Choose a designer who is a good communicator and actively listens to your needs and preferences․
* Ensure they are willing to collaborate with you throughout the design process․
* Establish clear expectations and communication channels from the outset․
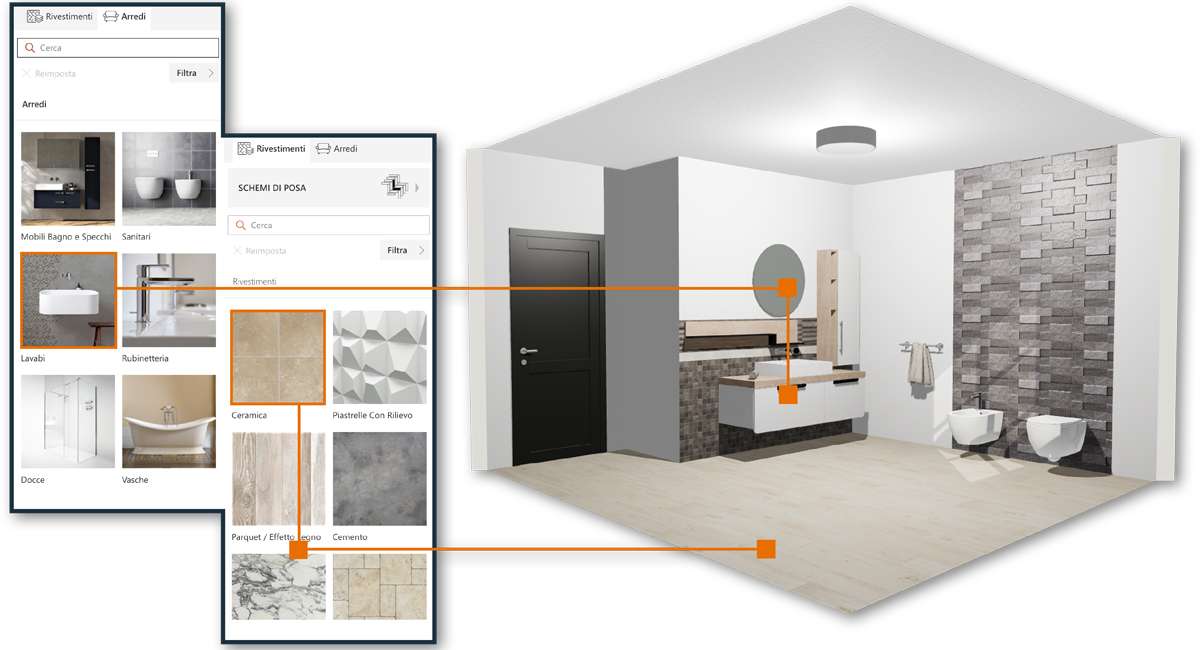
The design process typically involves an initial consultation, where the designer assesses the existing space and discusses your goals and budget․ They will then create a design proposal, which may include floor plans, 3D renderings, and material selections․ Once the design is approved, the designer will oversee the construction and installation process, ensuring that the project is completed to your satisfaction․ It is a process of collaboration and the selection of a professional is key to success․
The Future of Bathroom Design in Jefferson City
The future of bathroom design in Jefferson City is leaning towards sustainable materials, smart technology, and personalized spaces․ As homeowners become more environmentally conscious, they are seeking eco-friendly options such as recycled tiles, low-flow fixtures, and energy-efficient lighting․ Smart technology, such as automated lighting, voice-controlled showers, and heated floors, is also gaining popularity․ Ultimately, the goal is to create bathrooms that are not only functional and stylish but also environmentally responsible and tailored to individual needs․ With expert bathroom design services jefferson city mo, you can transform your bathroom into a luxurious and sustainable retreat․