The allure of natural stone in bathroom design is undeniable, offering a timeless elegance and a tangible connection to the earth․ Moving beyond the ordinary, exploring innovative bathroom tile designs natural stone can transform a mundane space into a sanctuary of tranquility and refined aesthetics․ From the subtle variations in color and texture to the inherent durability, incorporating natural stone into your bathroom is an investment in both beauty and longevity․ Let’s delve into the captivating world of bathroom tile designs natural stone, uncovering exciting possibilities for your personal oasis․
Unveiling the Diverse Palette of Natural Stone
Natural stone offers a vast array of options, each with its unique characteristics and appeal․ Choosing the right stone is crucial to achieving your desired aesthetic․ Here’s a glimpse into some popular choices:
- Marble: Synonymous with luxury, marble boasts intricate veining and a smooth, cool surface․ It’s perfect for creating a sophisticated and elegant bathroom․
- Granite: Known for its exceptional durability and resistance to moisture, granite is an excellent choice for high-traffic areas like shower floors․
- Slate: With its earthy tones and textured surface, slate brings a rustic charm to any bathroom․ Its slip-resistant properties make it ideal for shower floors․
- Travertine: Characterized by its porous texture and warm hues, travertine adds a touch of Mediterranean flair․ It requires sealing to prevent water damage․
Elevating Your Bathroom with Creative Tile Patterns
Beyond the type of stone, the pattern in which it is laid can dramatically alter the overall look and feel of your bathroom․ Consider these options:
Classic Patterns for Timeless Appeal
- Straight Lay: A simple and versatile pattern that showcases the natural beauty of the stone․
- Herringbone: An elegant and visually interesting pattern that adds a touch of sophistication․
- Basketweave: A classic pattern that creates a sense of texture and depth․
Modern Patterns for a Contemporary Edge
- Stack Bond: A clean and minimalist pattern that emphasizes the linearity of the tiles․
- Offset: A slightly staggered pattern that adds a subtle visual interest․
- Geometric Shapes: Incorporating tiles in various shapes and sizes to create unique geometric designs․
Comparative Analysis of Natural Stone Options
| Stone Type | Durability | Maintenance | Aesthetic | Cost |
|---|---|---|---|---|
| Marble | Moderate | Requires sealing and gentle cleaning | Elegant, luxurious | High |
| Granite | High | Easy to clean, resistant to stains | Modern, durable | Moderate to High |
| Slate | High | Requires sealing and regular cleaning | Rustic, earthy | Moderate |
| Travertine | Moderate | Requires sealing and gentle cleaning | Warm, Mediterranean | Moderate |
Ultimately, the best choice for your bathroom depends on your personal preferences, budget, and the overall design aesthetic you wish to achieve․ Remember to carefully consider the pros and cons of each stone type before making a decision․ When exploring the possibilities of natural stone, always consider the existing elements in your bathroom to create a cohesive and harmonious design․
PRACTICAL CONSIDERATIONS FOR NATURAL STONE IN THE BATHROOM
Before diving headfirst into your natural stone bathroom transformation, it’s crucial to consider some practical aspects․ These factors will help ensure your investment is not only beautiful but also long-lasting and functional․
– Sealing: Many natural stones, particularly marble, travertine, and some types of slate, are porous․ This means they can absorb water and stains if not properly sealed․ Sealing creates a protective barrier, preventing damage and making cleaning easier․ Consult with a stone professional to determine the appropriate sealant for your chosen stone and re-seal as needed․
– Underfloor Heating: Natural stone is an excellent conductor of heat, making it an ideal partner for underfloor heating systems․ This adds a luxurious touch to your bathroom, providing warmth and comfort underfoot, especially during colder months․ Be sure to consult with a qualified installer to ensure compatibility and proper installation․
– Lighting: The lighting in your bathroom can significantly impact the appearance of natural stone․ Consider using a combination of ambient, task, and accent lighting to highlight the stone’s natural textures and colors․ Warmer lighting can enhance the earthy tones of slate and travertine, while cooler lighting can accentuate the veining in marble․
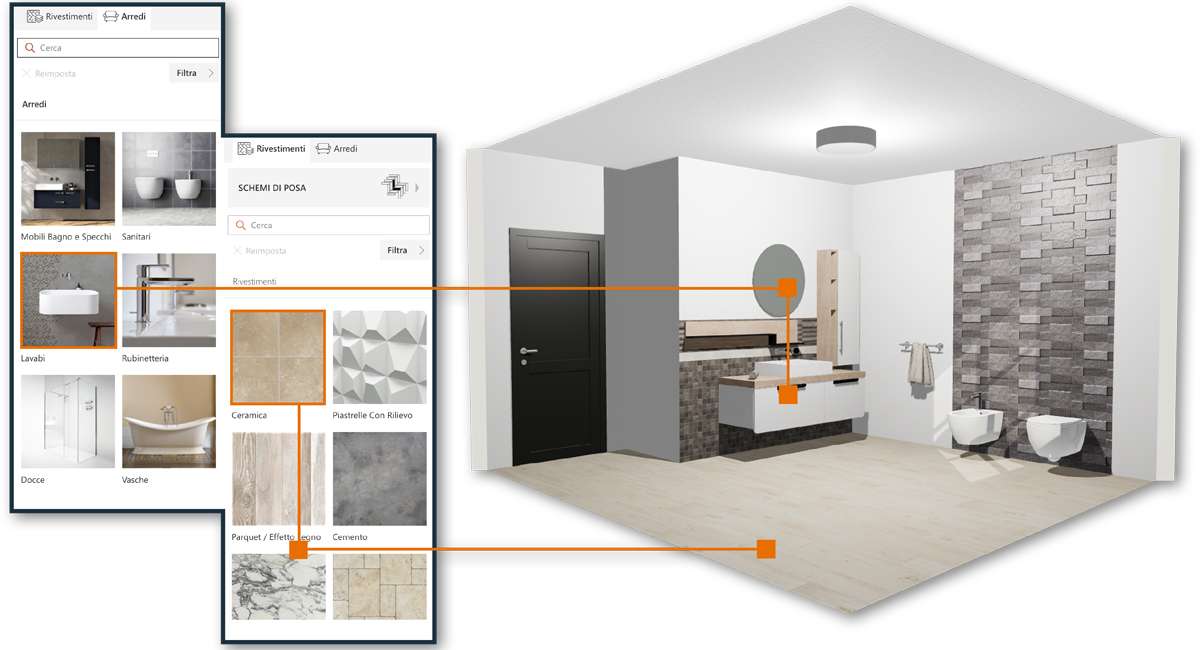
– Professional Installation: While DIY projects can be tempting, installing natural stone tiles is best left to the professionals․ They have the expertise and tools to ensure proper installation, minimizing the risk of cracks, uneven surfaces, and water damage․
COMPLEMENTARY DESIGN ELEMENTS FOR A HARMONIOUS SPACE
Natural stone tiles are just one piece of the puzzle․ To create a truly stunning bathroom, consider incorporating complementary design elements that enhance the stone’s natural beauty․ Here are a few ideas:
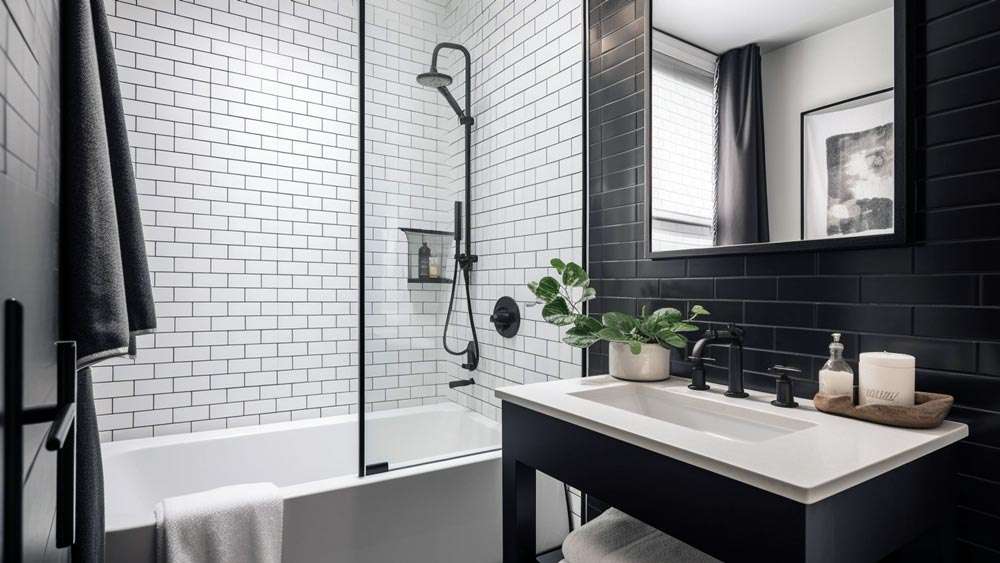
FIXTURES AND FITTINGS
Choose fixtures and fittings that complement the style of your natural stone․ For a modern bathroom, opt for sleek, minimalist faucets and showerheads in chrome or brushed nickel․ For a more traditional bathroom, consider ornate, vintage-inspired fixtures in brass or oil-rubbed bronze․ The color palette of the fixtures should also harmonize with the stone’s undertones․
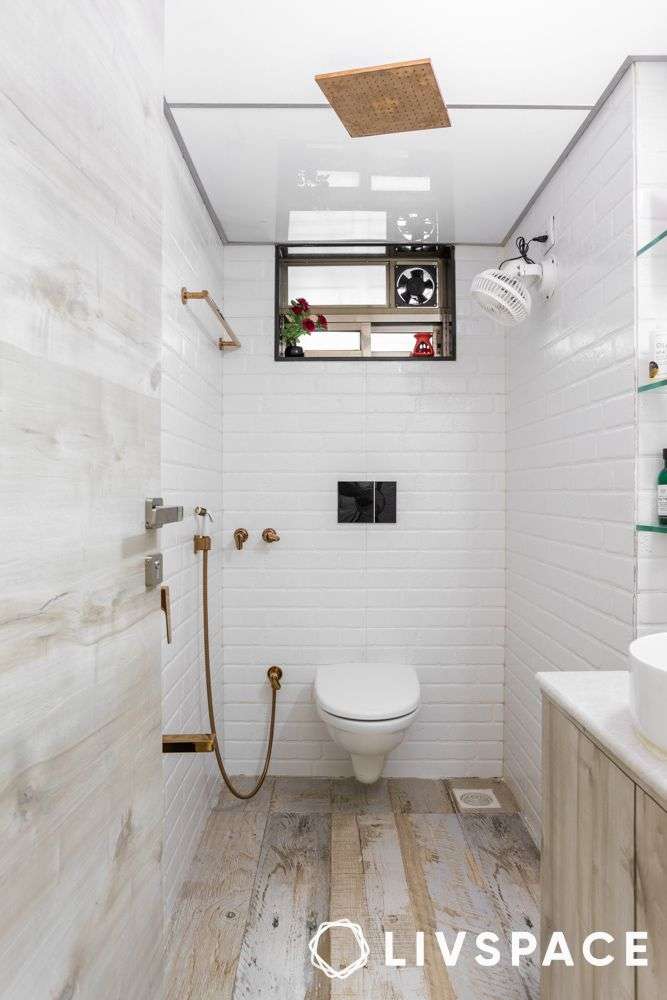
VANITY AND STORAGE
The vanity is a focal point in any bathroom․ Consider a vanity made from natural wood or a material that complements the stone․ For a rustic bathroom, a reclaimed wood vanity can add character․ For a more luxurious bathroom, a marble or granite countertop can create a cohesive look․ Ensure that the storage solutions are both functional and aesthetically pleasing․
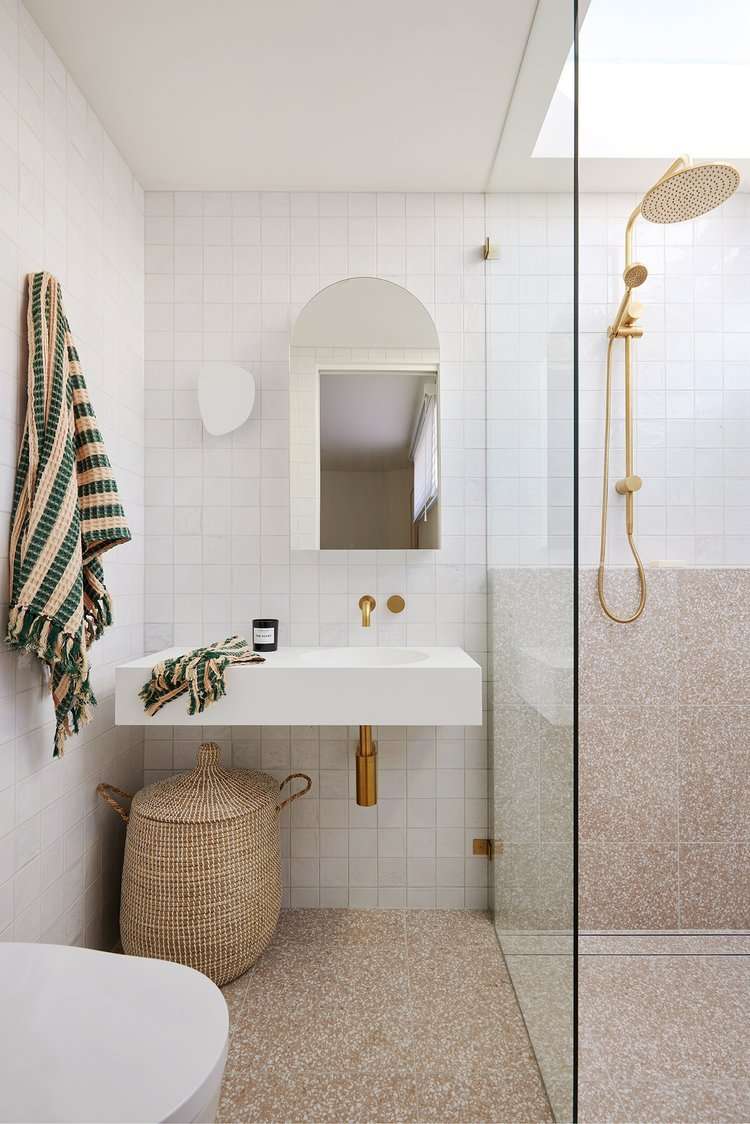
ACCESSORIES AND DECOR
Pay attention to the details․ Choose accessories and decor that enhance the overall design aesthetic․ Natural materials like wood, bamboo, and cotton can add warmth and texture․ Plants can bring life and freshness to the space․ Consider adding a luxurious rug or a piece of artwork to complete the look․
THE FUTURE OF NATURAL STONE BATHROOM DESIGN
As design trends evolve, so too does the use of natural stone in bathrooms․ We’re seeing a move towards larger format tiles, creating a seamless and modern look․ Sustainability is also becoming increasingly important, with more homeowners opting for locally sourced stone and eco-friendly installation methods․ The incorporation of technology, such as smart lighting and digital showers, is also blurring the lines between luxury and functionality․ Keep an eye on these trends as you plan your own natural stone bathroom oasis․
Remember to always prioritize quality and craftsmanship when selecting your natural stone and choosing your installer․ By carefully considering these factors and working with experienced professionals, you can create a bathroom that is not only beautiful but also a sanctuary of relaxation and rejuvenation for years to come․