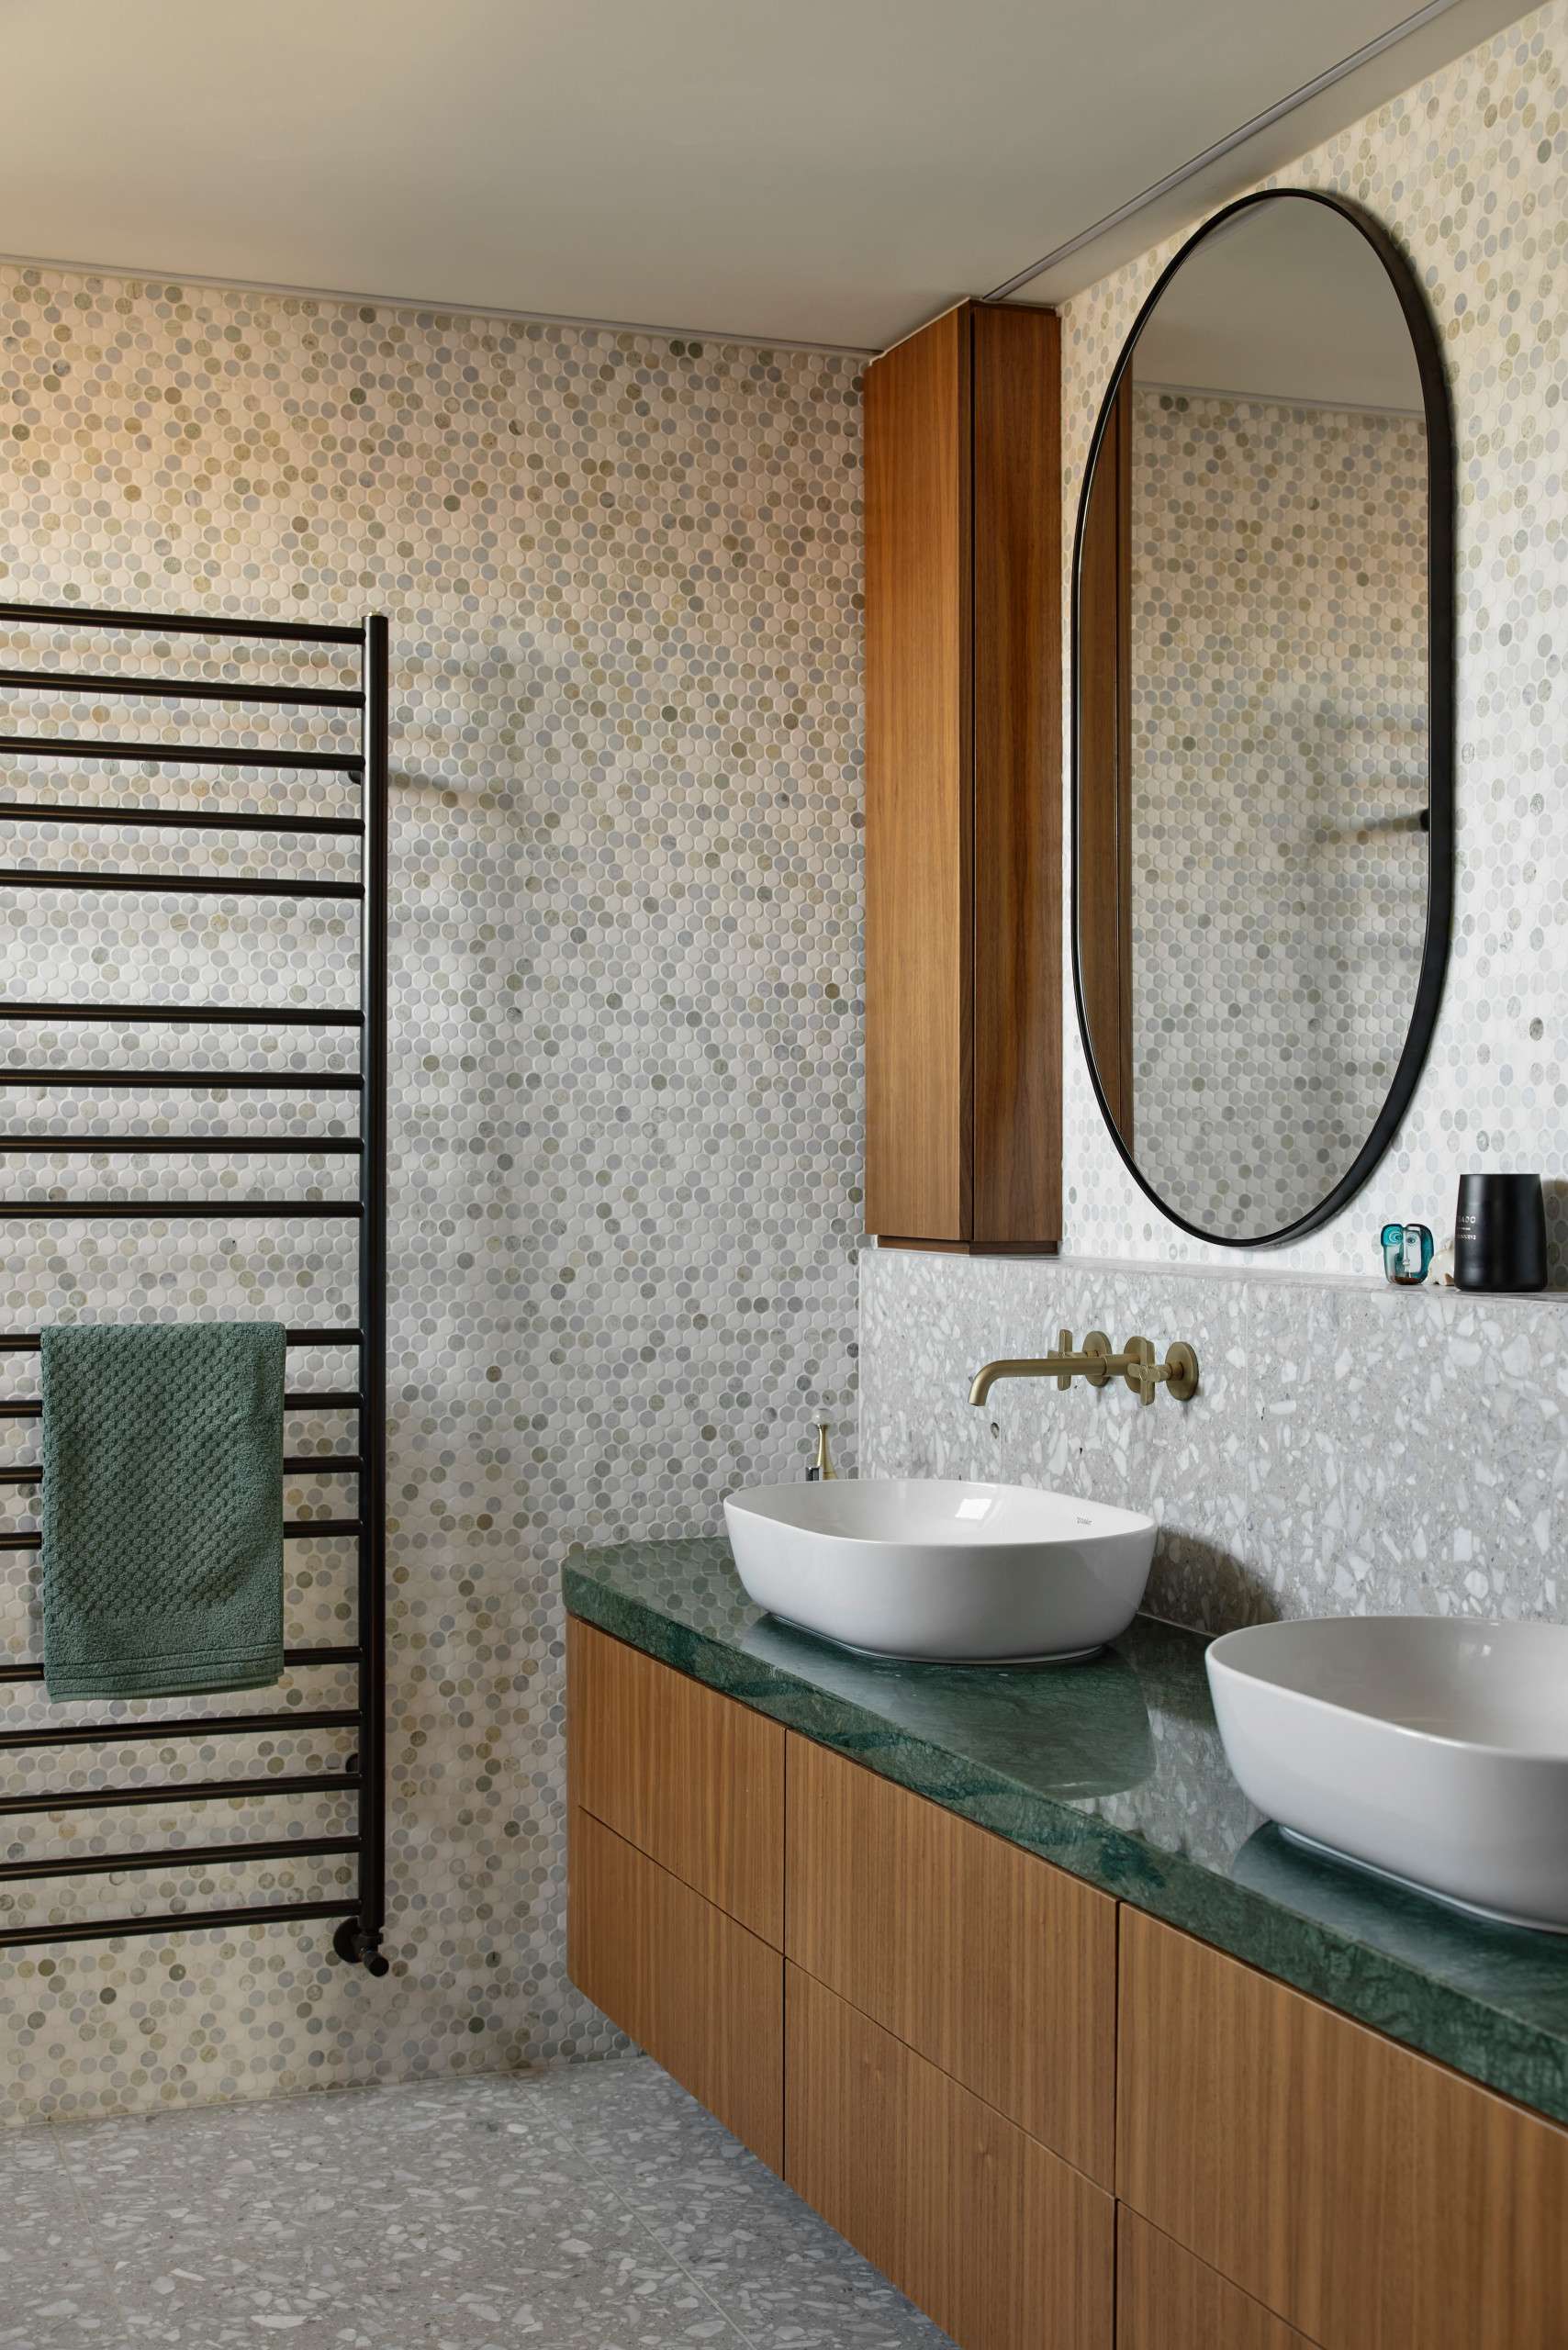
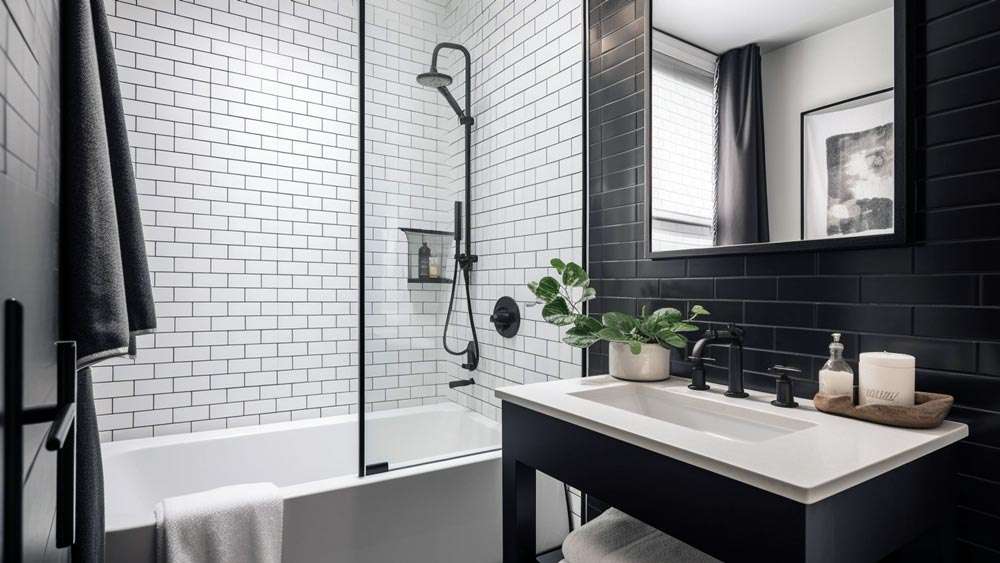
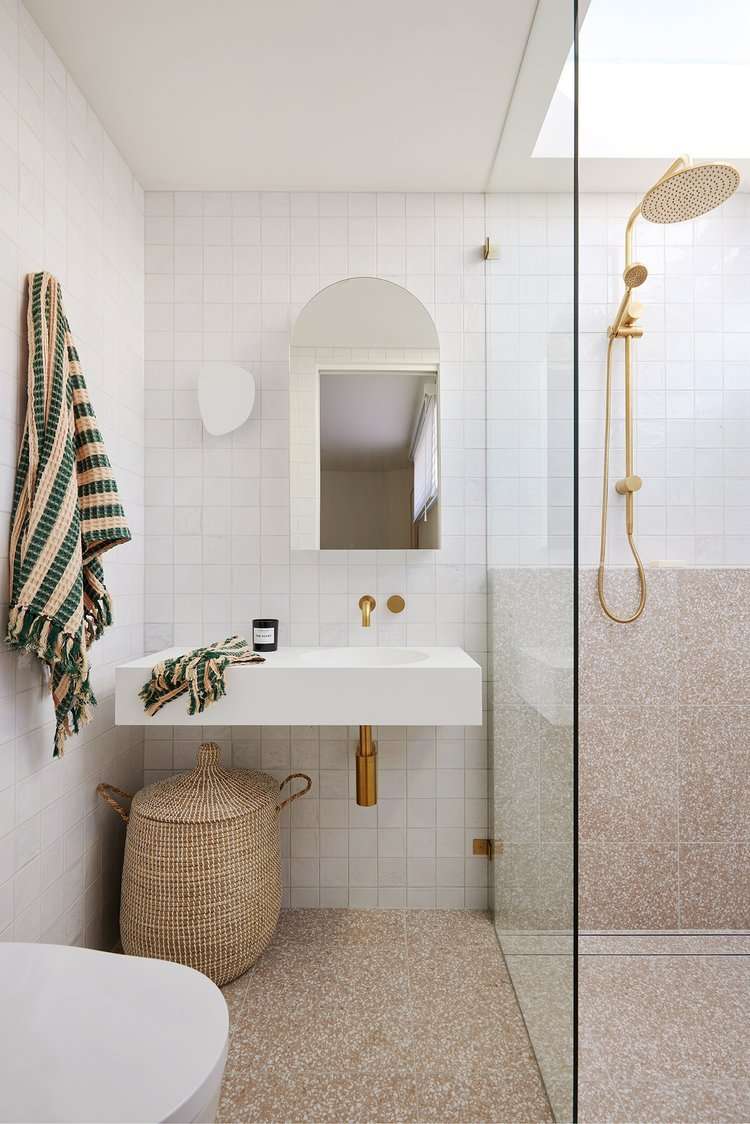
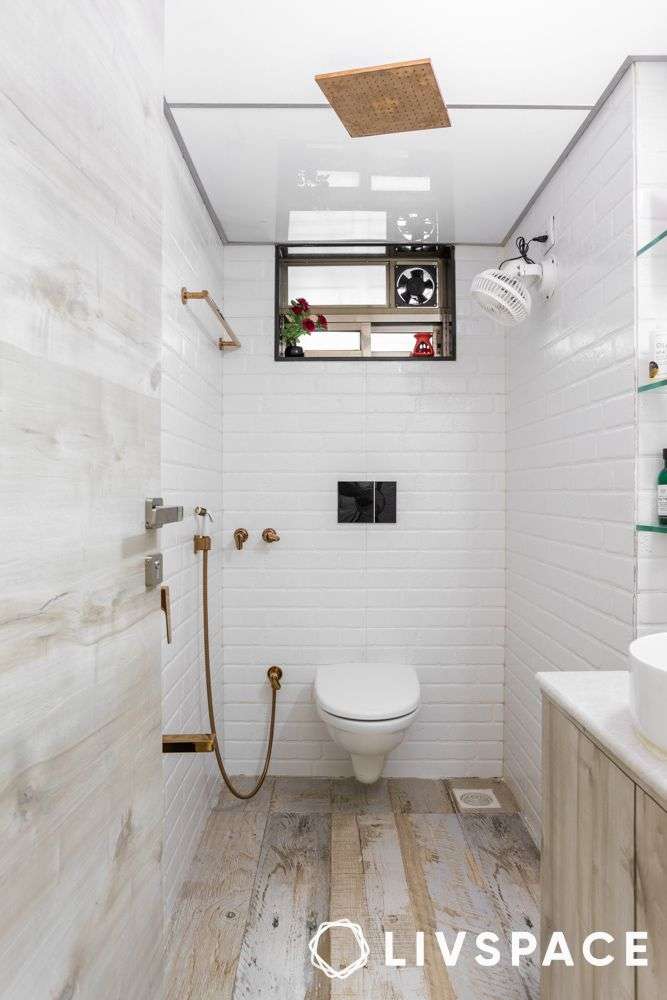
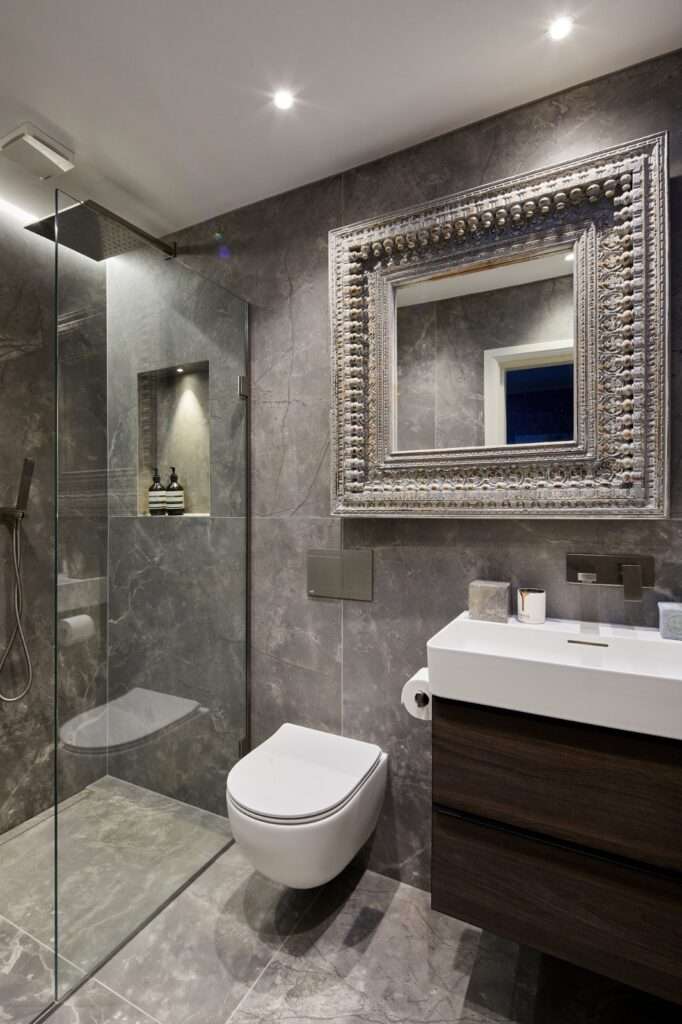
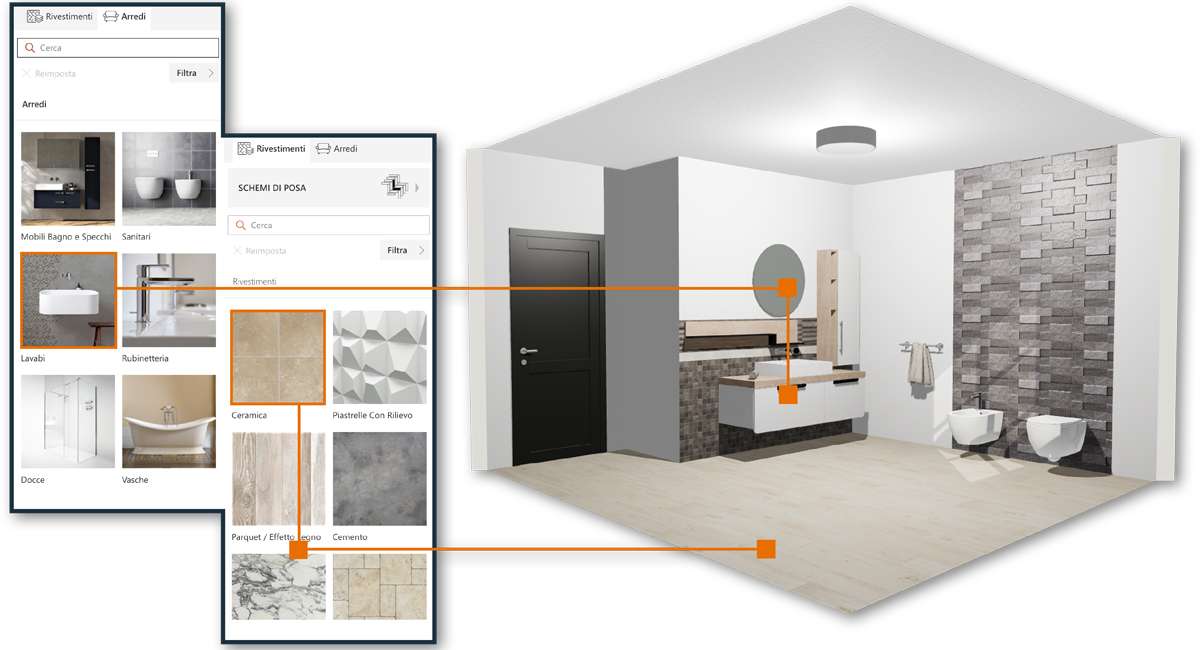
Transforming your bathroom into a stunning oasis doesn’t require a complete overhaul. Often, the most impactful changes come from incorporating unique design elements like mosaic tiles. These versatile tiles offer a myriad of possibilities, from creating intricate patterns to adding pops of color and texture. Exploring mosaic tiles bathroom design ideas can unlock a world of creative expression, allowing you to personalize your space and reflect your individual style. By thoughtfully considering color palettes, layouts, and the overall aesthetic, you can achieve a bathroom that is both functional and visually captivating.
Unleashing the Creativity of Mosaic Tile Designs
Mosaic tiles are not just about aesthetics; they also offer practical benefits. Their small size allows them to conform to curved surfaces, making them ideal for shower niches, backsplashes, and even entire walls. The grout lines, while seemingly small, provide excellent slip resistance, enhancing safety, especially in wet areas. When choosing mosaic tiles, consider these aspects:
- Material: Glass, ceramic, porcelain, stone, and even metal are all common options. Each material offers a different look and feel, as well as varying levels of durability and maintenance requirements.
- Color Palette: Do you prefer a calming neutral scheme, a vibrant burst of color, or a sophisticated monochrome look? The color palette will heavily influence the overall mood of your bathroom.
- Tile Size and Shape: Mosaic tiles come in various shapes and sizes, from classic squares to intricate geometric patterns. Experiment with different sizes and shapes to create a unique and visually appealing design.
Mosaic Tile Application Ideas
Accent Walls and Borders
A simple yet effective way to incorporate mosaic tiles is by using them to create an accent wall or border. This can be a focal point behind the vanity, in the shower, or around the bathtub. Choose a contrasting color or pattern to draw attention to the mosaic tiles and add visual interest to the space.
Shower Niches and Shelves
Shower niches and shelves are perfect for showcasing the beauty of mosaic tiles. Using them inside these recessed areas adds a touch of luxury and elegance. Consider using a different color or pattern inside the niche to create a pop of surprise.
Flooring Designs
While less common, mosaic tiles can also be used for flooring. The small size and numerous grout lines provide excellent slip resistance, making them a practical choice for bathroom floors. Geometric patterns or intricate designs can transform an otherwise ordinary floor into a stunning work of art. The flexibility of mosaic tiles is unmatched, making it ideal for complex bathroom layouts.
Comparative Table of Mosaic Tile Materials
| Material | Pros | Cons | Typical Applications |
|---|---|---|---|
| Glass | Reflective, non-porous, vibrant colors | Can be slippery when wet, more expensive | Accent walls, backsplashes, shower niches |
| Ceramic | Durable, affordable, wide variety of colors and patterns | Can chip or crack, porous | Floors, walls, showers |
| Porcelain | Extremely durable, water-resistant, low maintenance | More expensive than ceramic | Floors, showers, high-traffic areas |
| Stone | Natural beauty, adds texture and warmth | Porous, requires sealing, can be expensive | Walls, floors, accents |
.
Beyond the aesthetic appeal, the installation process of mosaic tiles can be relatively straightforward, especially for smaller projects. Pre-mounted sheets of mosaic tiles simplify the process, allowing for quicker and more uniform application. However, for intricate designs or larger areas, professional installation is often recommended to ensure a flawless finish and long-lasting results. The choice of grout color also plays a crucial role in the overall appearance. A contrasting grout color can accentuate the individual tiles and highlight the pattern, while a matching grout color creates a more seamless and subtle look.
CONSIDERING THE SCALE AND PROPORTION
When planning your mosaic tile design, it’s important to consider the scale of your bathroom; Smaller bathrooms may benefit from smaller mosaic tiles and lighter colors to create a sense of spaciousness. Larger bathrooms can handle larger mosaic tiles and bolder patterns without feeling overwhelming. The proportion of mosaic tiles to other surfaces in the bathroom is also important. Avoid overusing mosaic tiles, as this can create a cluttered and overwhelming look. Instead, use them strategically to create focal points and add visual interest to specific areas.
LIGHTING AND REFLECTION
The lighting in your bathroom can significantly impact the appearance of mosaic tiles, particularly those made of glass or other reflective materials. Experiment with different lighting options to see how they affect the color and texture of the tiles. Under-cabinet lighting, recessed lighting, and sconces can all be used to highlight the beauty of mosaic tiles and create a more inviting atmosphere. Natural light, if available, can also enhance the colors and patterns of the tiles.
MAINTENANCE AND CLEANING
While mosaic tiles are generally easy to maintain, it’s important to clean them regularly to prevent the buildup of soap scum, mildew, and other debris. Use a mild detergent and a soft cloth or sponge to clean the tiles. Avoid using abrasive cleaners or scouring pads, as these can scratch or damage the surface of the tiles. Regular sealing of grout lines can also help to prevent staining and maintain the overall appearance of the mosaic tile design. With proper care and maintenance, mosaic tiles can retain their beauty for years to come, adding lasting value to your bathroom.
Ultimately, the best mosaic tile bathroom design is one that reflects your personal style and meets your specific needs. Consider your budget, the size of your bathroom, and your desired aesthetic when making your selection. With careful planning and execution, you can transform your bathroom into a stunning and inviting space with the help of mosaic tiles.
